
Nothing deflates your ego faster than the dreaded “car test.”
You spend hours in your studio perfecting a mix. You finally get it sounding great. You head out to the car for a quick listen... only to discover that everything sounds all wrong. The lows are boomy, the mids are boxy, the highs are harsh. Total trash.
It’s OK, we’ve all been there. That’s why there are countless memes about the car test.
In this blog, we’ll teach you how to pass the car test with flying colors. But first, let’s talk about what the car test is, why it works, and what causes a track to sound like it was mixed in a garbage can when you listen in your car.
What Is The Car Test?

A good mix needs to sound good no matter what system it’s played on. From your studio speakers to your smartphone and of course, a car stereo.
It can be difficult to judge how a mix sounds on a new system. Is the mix boomy, or are the speakers boomy?
That’s why so many engineers rely on their car stereo. It’s a system they’re familiar with. They listen to music on those speakers every day, and they know what things are supposed to sound like. That makes it easy to identify when there’s too much or not enough of something.
Car stereos let you hear your mix in a whole new way. They can show you problems in your mix that you have not have noticed in your studio. The speakers are designed to make sure you can clearly hear the vocals over the road noises and interference while driving so they’re not as balanced as studio monitors.
Plus, the car is an entirely different environment from your studio with different acoustics. The car is a great place to listen to your mix without your judgment being clouded by acoustic problems in your studio.
Why Does My Mix Sound Like Trash In The Car?

The process of mixing is really pretty simple when you think about it.
Listen to the mix. Identify a problem. Fix it.
Once you’ve solved all the problems, your mix should sound good in any environment. However, if there’s something wrong with your mixing environment, the whole system falls apart. You start making mix decisions to correct problems with your room, instead of problems with your mix.
Here’s an example; you spend a little time getting the kick drum right. You make sure there’s plenty of power and low-end, but are careful to make sure the low-mids don’t get too muddy. You fine-tune the mix until it sounds great in the studio.
But when you bounce the sessions and listen in your car, the low-end is all wrong.
Why?
Your room was lying to you. You didn’t get the kick to sit right in the mix—you got it to sit right in your studio.
Maybe your speakers don’t put out enough low-end, so you wind up boosting frequencies on your EQ that your speakers can’t even reproduce in order to feel the subs. Then, when you actually listen on a system with subwoofers, the low-end is overpowering.
Or vice-versa. Maybe you have plenty of low-end, but your room is untreated, which causes you to think there’s more low-end than there really is. So when you do the car test, your mix sounds weak and thin.
If your mixes aren’t translating properly, meaning they sound good in your studio but not on other systems, there must be a problem with the sound in your studio. Maybe it’s your monitors, or the speaker placement, or even the room itself—but something is causing you to hear a skewed representation of what your mix actually sounds like.
If you can’t hear what your mix actually sounds like, there’s no way to know if you’re correcting problems with the mix or just fighting against the sound of your room.
For instance, say you think the kick sounds too boomy. Naturally, you reach for an EQ to cut the lows. But the kick isn’t what sounds boomy—it’s your room. So when you listen in a different environment, the kick sounds weak and thin.
So you head back to your studio, but every time you try to boost the lows, it starts to sound boomy again. Now you’re running back and forth between your car and your studio, making mix decisions based on notes you wrote while listening in your car.
And the cycle just keeps repeating. And you never get it right. And you feel like a failure and you want to give up.
Don’t panic! It’s all part of the learning process. Here are a few of our favorite tips to ensure your mixes translate to any system.
How To Pass The Car Test

Look, I’ll be honest here—there are no mix tips or tricks to help you pass the car test. This problem needs to be solved at the source.
Thankfully, that doesn’t necessarily mean you need to buy a new set of studio monitors. Even the nicest pair of studio monitors in the world will still skew your mix if the room is left untreated. Here are a few of our favorite tips for reducing acoustical issues in your studio to help you make more informed mix decisions.
Proper Speaker Placement

Make sure your studio monitors are set up properly. They should be centered on the back wall and project across the length of the room—meaning that if your room is a rectangle, the monitors should be placed at the far end. Essentially, you want to put as much distance as possible between the front of the monitors and the wall they face to eliminate reflections.
Be careful not to butt your studio monitors up against the wall though. Try to leave two to three feet of space between the backs of your monitors and the back wall to prevent low-frequency build-ups.
Tweeters should be at ear-level and pointed towards your head. The speakers should be placed in an equilateral triangle with the listening position—meaning they should be the same distance from each other as they are from you.
Acoustic Treatment

A little bit of acoustic treatment can go a long way. You don’t have to cover your whole studio, but some well-placed acoustic panels can eliminate a lot of problems. Stay away from those cheap foam tiles, as they only help reduce high frequencies.
Start by placing some acoustic panels at the “first reflection points.” When sound comes out of your monitors, it also bounces off of the walls. If you can prevent the sound from bouncing around, you can improve the acoustic response of your studio.
Sit in your listening position and have a friend hold a mirror against one of the side walls. Have them move the mirror along the wall and make note of anywhere you can see the reflection of the speaker—these are early reflection points that will require acoustic treatment. Repeat the same process for the other wall.
Adding some bass traps in corners will greatly reduce low-end build-up and make it easier to dial in the kick and bass. You can also place an acoustic panel on the wall behind you to further prevent reflections.
Use Reference Mixes

One of the simplest ways to make sure your mixes translate is to use reference mixes, we created REFERENCE to make sure you fully understand what your reference mixes are prompting you to change in your mix
Every minute or so, take a break and refer to a similar song in your genre. Something that’s been professionally mixed and mastered that you think sounds great. Then jump back to your mix and see how it compares.
This can help you make more informed decisions. If you think the kick drum sounds great on your reference mix, but it sounds a little boomy in your studio, you know that your mix needs to sound a little boomy too. Otherwise, it will sound weak and thin in the car.
However, this approach takes a seasoned ear. Plug-ins like REFERENCE make it easy to identify key differences between your track and your favorite reference mixes, including levels, dynamics, and frequency response.
Use Frequency Analyzers

Frequency analyzers can help visually identify issues that you may not be able to hear in your studio. Use a frequency analyzer to take a quick look at your mix and see if any ranges stick out.
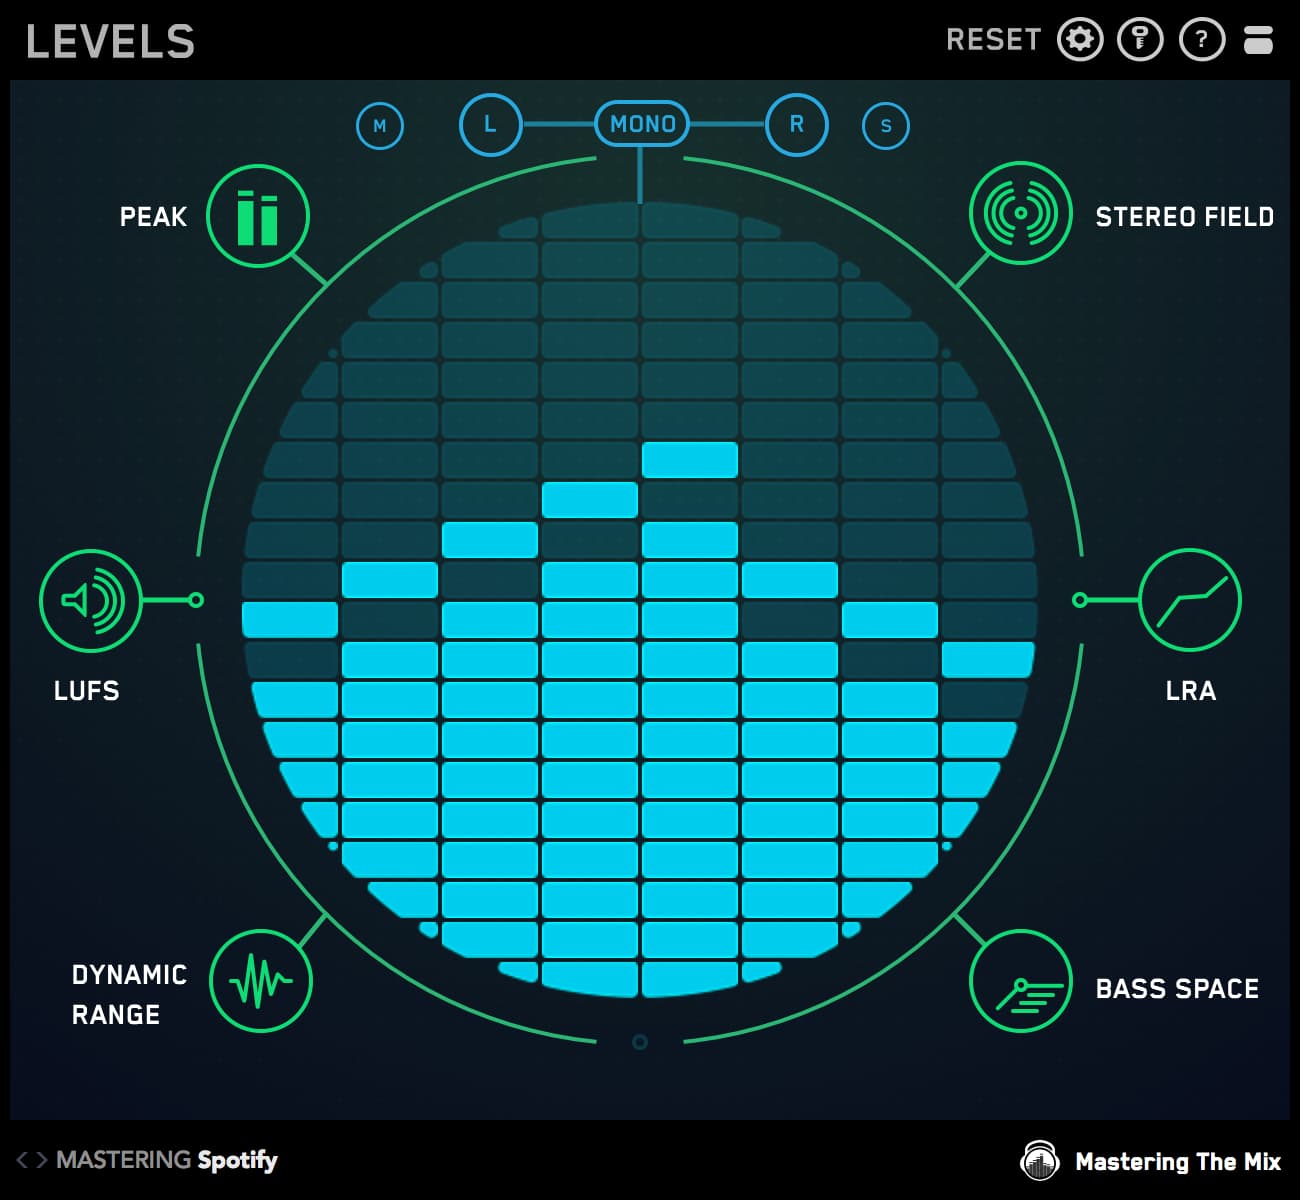
For example, Bass Space in LEVELS makes it easy to monitor essential elements of your mix, like volume levels, stereo width, and bass space, which can be used to identify any channels that are outputting excess low frequencies.
Check Your Mix on Multiple Systems

Another simple way to make sure your mix will sound good in the car is to test in on a few other systems first. In a perfect world, we would all have three sets of studio monitors. In reality, you have to work with what you’ve got.
Try to listen on large speakers with plenty of subs to see how the low-end holds up. Headphones can be another great tool for checking low-end, as they eliminate any acoustical issues caused by your room. They can also be a great tool for identifying what your room and studio monitors are doing to your mix.
It’s also a good idea to check the mix on your phone once or twice throughout the session—just to see make sure the balance holds up on small speakers.
Just remember, the car isn’t the be-all, end-all of mix rooms. It’s a great resource to check your mixes for translation, but ultimately, you want your mixes to sound great on every system. And if you follow these simple tips, you should be well on your way!


