The last thing you want is for your listeners to turn off your music because the mix sounds harsh.
Humans are particularly sensitive to the frequencies covered by speech. If we hear an excessively powerful sound in this frequency range, it can unpleasantly hit the eardrums. Harshness in music is introduced when this range is boosted disproportionately to the rest of a mix.
If you want to create mixes that sound bright and clear without being harsh then this post is for you. I’m going to discuss what causes harsh mixes, how to know when your mix sounds harsh, what accentuates harshness and how to fix harshness.
What Causes Harsh Mixes?
A mix can sound harsh when there is an excess of energy in the 1kHz to 10kHz frequency range in the context of the whole mix.

Often, the root cause of harshness is poor sonic and EQ choices, such as pushing for an overly bright mix or selecting harsh synth sounds. These poor choices are made due to an unreliable listening environment and neglecting the importance of using a great-sounding reference track.
Harshness can also find it’s way into a mix when layering multiple sounds in this frequency range without EQing space for all the elements in the mix. This build-up has a tipping point where it stops sounding rich and full and starts sounding bloated and resonant.
How To Know When Your Mix Sounds Harsh?
The first step is to balance out your listening space as much as possible. Acoustic treatment is a great investment if you have space. Sonarworks is also great for applying a correction to both a room and your headphones to give you a more accurate listening environment.
Our frame of reference is so important when listening to music. If we hear an incredibly muffled sound for a few seconds, then a well-balanced track might sound comparatively harsh if auditioned side by side. So, we need to set our frame of reference using a great sounding reference track.
The importance of level-matching the reference track here can’t be stressed enough. Humans perceive louder music to have boosted highs and lows, which can be a nightmare when making EQ decisions.

Even a difference of 1dB in loudness can affect your EQ decisions, so you’ll need to accurately level match your song and your reference track. Our plugin REFERENCE does this instantly, accurately and constantly updates to make sure you’re always comparing your tracks fairly.

You’ll notice REFERENCE has a visual in the lower part of the user interface that shows the frequency spectrum and white lines. When the white lines rise above the central 0dB line, that shows a build of up energy in those frequencies, in the context of the whole mix when compared to the reference track.
In the example below, we can see the 1kHz-10kHz range has risen above the 0dB line. This signifies that our mix is harsh and we can act accordingly. This is a tried, tested, time-efficient and effective way to determine if your mix is harsh.

What Makes Harshness Worse?
We’ve established what the root causes of harshness are, but what can make it worse?

Compression and limiting can increase the volume of subtle and quiet characteristics of your audio. There might be gritty tones in your channels that lie dormant until compression brings them to the surface. The antidote to this is going for more subtle compression and limiting settings.
Adding stereo width can increase the perceived brightness of a mix. If you add a significant amount of stereo width without considering the tonal balance, you may find the balance shifts from a warm mix to a harsh mix.
Distortion effects and grit are great, but if many channels have considerable distortion the accumulation can result in a harsh mix. To reduce harshness when you’ve used a lot of distortion, focus the effect on channels that need it for their character and reduce the crunch on those channels that don’t need so much distortion for their character.
How Do You Fix Harshness?
Getting the tonal balance right during the sound design of synths and when choosing your samples is key to avoiding a harsh mix in the first place. But when you’ve already committed to your sounds, how do you reduce harshness?
Step One - Balance All Frequencies
The most effective way to solve harshness is to improve your overall tonal balance in your mix. You might find that the 1kHz-10kHz region is loud relative to your low-end and low-mids. A boost in these areas can alleviate the harshness.
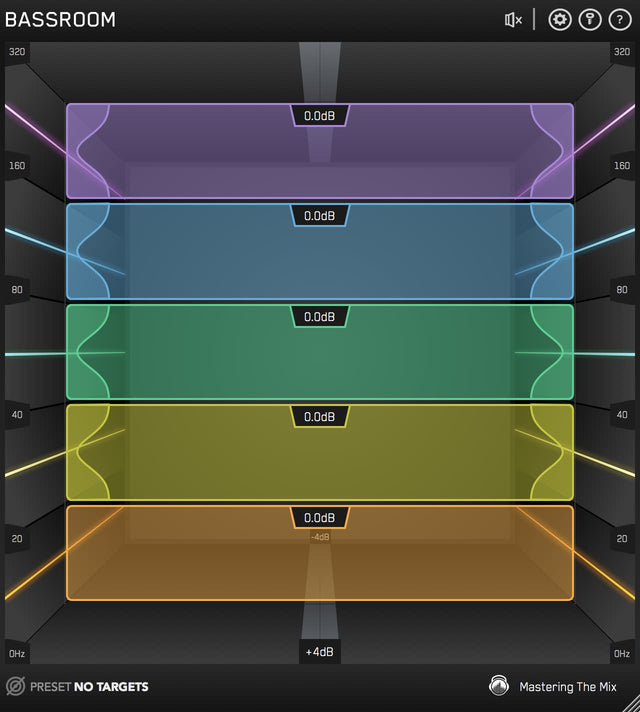
Our plug-in BASSROOM analyses the overall tonal balance of your mix and gives you EQ targets to help you achieve a solid low-end relative to your whole mix. This has the knock-on effect of reducing harshness. We have a super short 4 step guide to using BASSROOM here.

Step Two - Dynamic EQ
Find the channels that are contributing most to the harshness issue and reduce those frequencies when they’re at their loudest.

Step Three - Final Quick Fixes
Some plugins effectively reduce harshness such as Soothe by Oeksound and Refinement by Plugin Alliance. My personal preference is to leave these as a last resort to take the edge off harshness once the tonal balance and resonances have been fixed. However, they’re great if you’re looking for a fast result.

Conclusion
Knowing how to identify the root cause of harshness prepares you to make better decisions during the songwriting and sound design stage your production. This means you’ll have fewer harshness problems to overcome during the mixing and mastering of your song.
Make a note of this URL and have another read next time you’re finalizing your mix. Go through the steps to identify harshness and see how your sound is shaping up. You’ll have all the information you need here to solve any issues that arise. You might just find it leads to your best sounding mix yet.


