Level: Intermediate/Advanced
In a scenario where you’re editing spoken voice, you want to get the message across as clearly as possible. Perhaps it’s a voice over for your business advert, or a podcast where you’re discussing topics that are important to you. Poor quality audio will reflect negatively on your businesses product or authority on the subject you’re discussing.
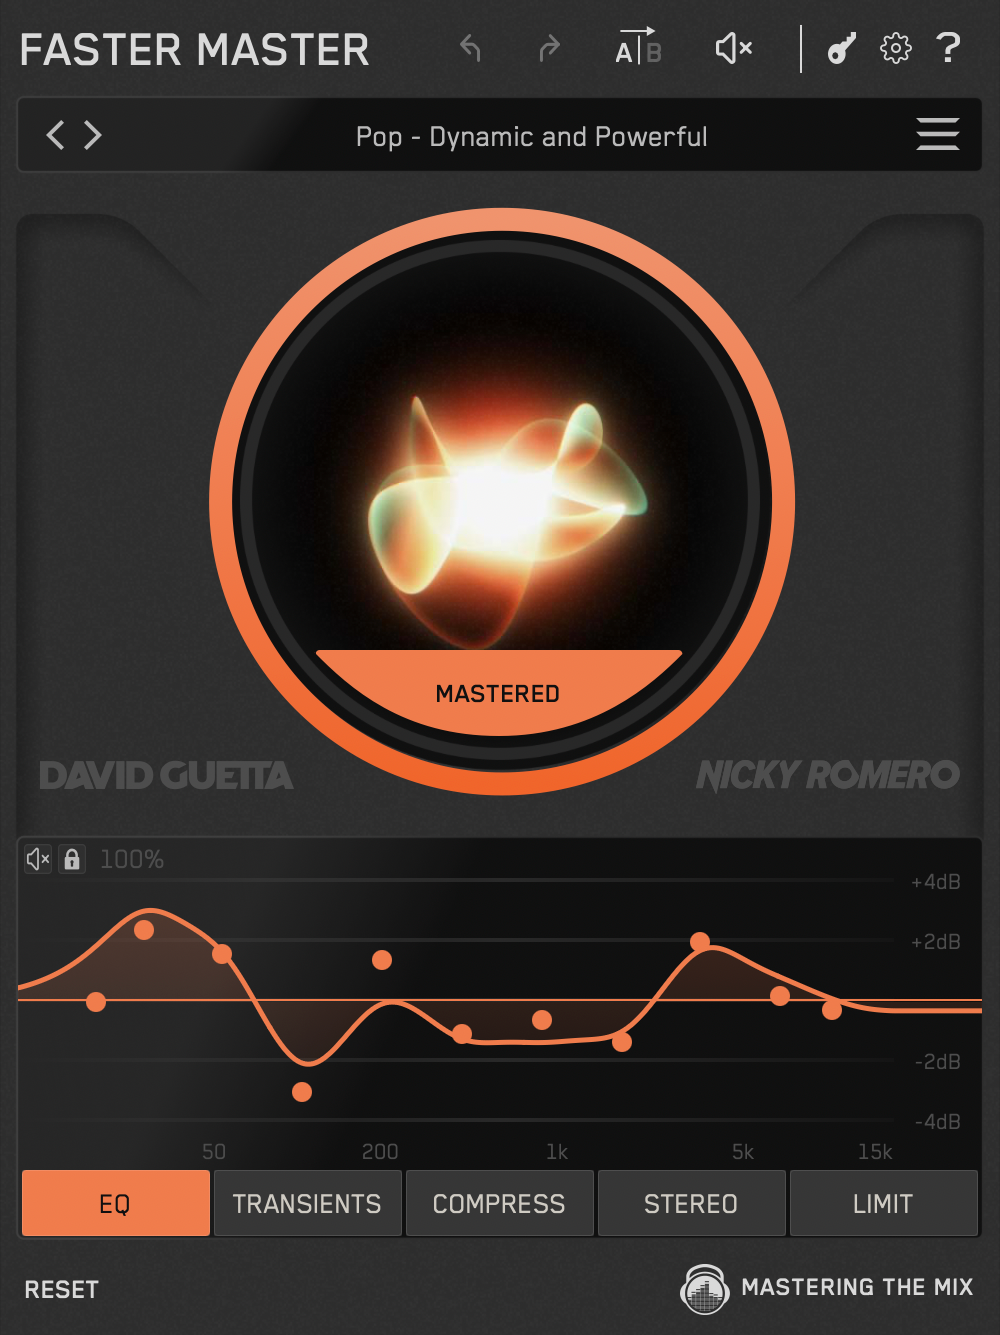
I’m no Kuk Harrell (vocal recording genius), but I’ve produced vocals for David Guetta and Steve Aoki, and I’ve edited a vast number of voice overs for various uses. This post will offer some more advanced techniques to help take your voice over sound to the next level.
How to record spoken voice
Gear
What microphone, interface, and other necessary gear you use to create your voice over will be dependant on your budget. However, i have found that moderately priced gear can give great results with advanced editing techniques… Which will be discussed in this post.
Space
Record the voice over in a space that won't give you too many reflections… So avoid hard flat surfaces. Pop shields and reflection filters are cost effective ways to dramatically improve your voice over sound.
Signal Level
An important factor at this initial stage is to make sure that your recording doest clip or distort. No amount of post production will help rectify this issue. When you’re recording, keep an eye on the meters on the channel you’re recording to. You should adjust your interface so you can talk normally, close enough to the microphone and the signal remains below -6dB on the channel meter. To to maintain a fairly similar level throughout the recording so you don’t have spend time automating the audio at a later stage.
Editing Spoken Voice
Surgically EQ the problems
It’s more than likely that your recording will have a lot of low end rumble from 0-250Hz. The microphone naturally picks up this information, but your voice may only go as low as 300Hz, meaning you can remove all the unwanted low end. This will help the audio feel more focused on the vocal.
Use a steep sloped Q setting and cut up until the lowest point of your voice. Don’t cut too much as you’ll lose the low mid power of the vocal.

Removing the hiss, hum and rumble from a voice over
Constant hissing and humming noises in your recording can sound super unprofessional and distracting for your listener. Luckily, there are tools that can easily eradicate the noise. check out ERA-N by Accusonas for a cost effective way to remove that hiss, hum and rumble. I like to place the noise reduction plugin after my surgical EQ as I find this means the de-noiser doesn't have to work so hard, giving a more natural sound.

How to remove loud ’S’ sounds from a voice over
A de-esser is what you need! This tool compresses only the frequencies of that piercing ’S’ sound leaving the rest of your vocal untouched. My favourite plugin for this is Pro DS.

How to compress voice over audio
The reason we compress the voice over is to raise the volume of the words that are more difficult to hear, making the whole voice over more intelligible to the listener. We’ll use a compressor to reduce the volume of the louder parts, and also to turn up the overall volume, so the louder utterances and the quieter utterances are more similar in perceived volume.
- Start by reseting the compressor to a neutral setting. Threshold at 0dB and ratio to 1:1 (this basically means no compression is happening).
- Increase the threshold so that your louder elements are triggering the compressor.
- Set the ratio from 2:1 to 4:1, whichever sounds more natural on your recording. (What does this mean? If your ratio is 3:1, then for every 3dB of signal, the compressor will reduce it to 1dB relatively. So if the signal is 6dB then the compressor will reduce this to 2dB).
- Play with the attack time to get a more natural sound. With the attack, you want it to be around 1-5ms. If it’s too fast it can sound squashed, too slow and the compressor won’t kick in effectively.
- Set the release time to make sure the compressor works well with your material. If the release is too slow then your quieter phonetics will also get compressed, which will make the voice over sound over-processed. around 10-20ms is usually a good ball park to aim for.
Presets can work well but will almost always need to be tweaked to suit your audio. For example a preset may have a set threshold that means that the compressor isn’t even trigged, so be sure to incorporate the instructions above even if you use presets.

Shaping the sound
This is the most creative part of what is essentially a technical process. I personally like to add some analogue style EQ to embellish the sound of the voice making it warmer, brighter and more pleasant to listen to. I’ll use an existing voice over in REFERENCE to monitor what a great voice over should sound like, and I’ll make sure my sound is comparable to that.
There was an article published by MIDI Lifestyle on making vocals sound professional that mentioned "Your ear has the final say". This is an important thing to remember while mixing because it's easy to just go through the motions and apply effects to a sound generically. You have to let your ears make the final call.
In most scenarios I would avoid using any distortion, reverb, delay or any other effect that would detract from the focus of the vocal. But as in most things audio related…never say never.

Making sure the voice over is loud enough
This is the final stage of the vocal production. So much has been done up to this point, you'd hate to export the voice over and discover it’s way too quiet. This stage will require a limiter and a metering plugin. I’ll be using Pro L and LEVELS.
Open up LEVELS and check the LUFS of your material (LUFS is a calculation on how the human ear perceives loudness so is perfect for this application). The EBU R 128 recommendation for broadcast levels is -23 LUFS, so you would want the integrated reading in LEVELS to read -23 after it’s listened to the entire recording.
If your material is lower in volume then you could use a limiter to increase the overall volume without causing your audio to clip. Increase the gain in Pro L and tweak the settings much like you did for the compressor.
Reduce the output of your limiter to make sure you don’t have ‘true peaks’ in your voice over. You can click here for a more detailed explanation of what true peaks are and why they are so important.

Conclusion
Remember, the number one goal here is to make your audio as clear and intelligible as possible. This will give your listener the best possible experience and deliver your message in the most effective way.


