The day I truly heard compression for the first time was a game changer. After countless demos, it finally clicked—how attack and release times shape a track’s character.
Before that, compressors were just another plugin I used because I was "supposed to," often leaving my mixes sounding flat and disconnected. Learning to dial in attack and release settings changed everything—suddenly my mixes had punch, control, and cohesion.
If you’ve ever felt frustrated trying to hear the difference a compressor makes, you’re not alone. Many producers struggle to understand what attack and release actually do. But when you get it right, compression transforms your tracks, giving them punch, polish, and cohesion. This guide will show you how to dial in these settings with confidence.
 How To Use A Compressor
To effectively set the attack and release times on a compressor, it’s essential to understand how the other controls work and interact. Most compressors include controls for threshold, ratio, and make-up gain, alongside the attack and release settings. Each of these plays a critical role in shaping your sound.
The threshold determines the level at which the compressor starts working. Think of it as a boundary: if your audio signal crosses this line, the compressor engages and applies gain reduction. For example, a lower threshold means the compressor will act on quieter sounds, while a higher threshold limits its effect to louder peaks.
Some iconic compressors, like the UA 1176 and LA-2A, have a fixed threshold. This means there’s no direct threshold knob for you to tweak. Instead, you adjust the input gain to push the signal harder against the compressor’s fixed threshold. The more input gain you apply, the more the signal breaches the threshold, resulting in increased compression. This approach can feel different from working with a standard variable-threshold compressor, but it’s highly intuitive once you get used to it.

When the signal becomes louder than the threshold, the compressor reduces the gain based on the ratio setting. Without getting too mathematical, the ratio of a compressor determines how much gain reduction is applied to a signal after it crosses the threshold. With a ratio of 2:1, for every 2 dB above the threshold, the compressor only allows 1 dB above the threshold through. With a ratio of 4:1, for every 4 dB above the threshold, the compressor only allows 1dB above the threshold through. With a ratio of 10:1, for every 10 dB above the threshold, the compressor only allows 1 dB above the threshold through. You get the idea.
However, there’s no need to get too technical when setting the ratio on a compressor. Just remember that high ratios make compression more audible and aggressive, while low ratios are better for subtle compression. Use your ears and choose whichever ratio sounds best.
The make-up gain setting should be used to add back however much gain you “knocked off” of the original signal using gain reduction. So, if you compress a signal by roughly 3 dB, use the make-up gain to increase the output level by 3 dB so you can accurately judge the difference between the original and the compressed sound.
 Now that you know the basics of how to use a compressor, it’s time to talk about how to set compressor attack and release times.
Compressor Attack And Release Settings
The attack and release settings determine how quickly a compressor reacts to changes in your audio signal. With a bit of know-how, these controls can help you shape the dynamics of your track to achieve anything from smooth, transparent compression to punchy, aggressive effects.
The attack setting dictates how fast the compressor responds once the signal exceeds the threshold. Think of it as the compressor’s “reaction time.”
 Fast Attack Speed (10 microseconds - 1 millisecond)
With a fast attack speed, the compressor kicks in almost immediately, which is great if you’re trying to prevent signals from clipping or tame unruly peaks. As for tone, fast attack times can be used to tighten up sloppy performances and make things feel a little more polished.
If the attack is too fast, it can squash the transient, making the instrument sound lifeless or pushed back in the mix. On the other hand, it’s great for controlling harsh peaks or tightening up a sloppy performance.
Fast attack speeds can also cause audible distortion or artifacts, especially when dealing with bass frequencies. To prevent this, try using a compressor with a built-in high-pass filter to bypass the bass frequencies. Slow Attack Speed (10 to 100 milliseconds)
With a slow attack speed, the compressor lets a bit of the initial signal through before it kicks in, which can be used to emphasize the impact of a signal, making it sound bigger and more aggressive.
However, a slow attack won’t tame loud peaks effectively, so it’s better suited for enhancing punch and presence.
 The release setting controls how long it takes for the compressor to let go of a signal. Fast release times are also great for increasing the perceived loudness of a track.
 Fast Release Speed (50 to 100 milliseconds)
At low levels of gain reduction, fast-release speeds sound the most natural However, when used at high ratios, fast-release times can make tracks sound more gritty and aggressive. Just be careful, extreme compression with a fast release time can cause an unwanted pumping sound.
 Slow Release Speed (2 to 5 seconds)
Slow-release speeds are great for smoothing out dynamic performances. It can also be used to push an instrument back in the mix, making it sound farther away from the listener. If the release time is too slow, a compressor may suck the life out of your performance, making it sound dull and flat.
 How To Set Attack And Release Times When Compressing
When it comes to setting compressors, discussing specific settings isn’t helpful. Settings that sound good for one instrument may not sound good for another. That’s why in most cases, engineers refer to attack release times as fast, slow, or medium.
Generally speaking, faster attack and release times will give you more aggression, grit, and loudness, while slower times sound smoother. Many engineers begin applying compression with a slow attack speed and a fast release speed for the most natural, transparent sound. These settings will help ensure that the dynamics of the performance are preserved while still taming the loudest transients.
Next, adjust the attack time as needed. Use a slower attack speed to preserve the transient, and a faster attack speed for more control. Then, adjust the release setting so that it breathes in time with the performance. To do this, watch the gain reduction meter and adjust the release time so that the signal just barely returns to 0 before the next transient. This helps give each of the tracks a more cohesive sound—like they’re all working in time together.
 For even more control over your sound, try using two compressors in serial. Start with a compressor with a fast attack and fast release to smooth out peaks and tame transients, followed by a slower, more gentle compressor to make tracks sound bigger and fatter.
 The most important thing to remember when setting the attack and release times on a compressor is to know what you’re trying to accomplish. Simply scrolling through presets or spinning knobs isn’t going to get you where you want to go.
Instead, decide what it is that you want to achieve before you reach for the compressor. Do you want to tame peaks and reduce the dynamic range of a performance? Do you want to glue tracks together with soft, slow compression? Do you want to add excitement and perceived loudness?
As long as you know what it is you want to accomplish, you can follow these simple steps to setting compressor attack and release times to get the job done.
How To Measure Dynamic Range
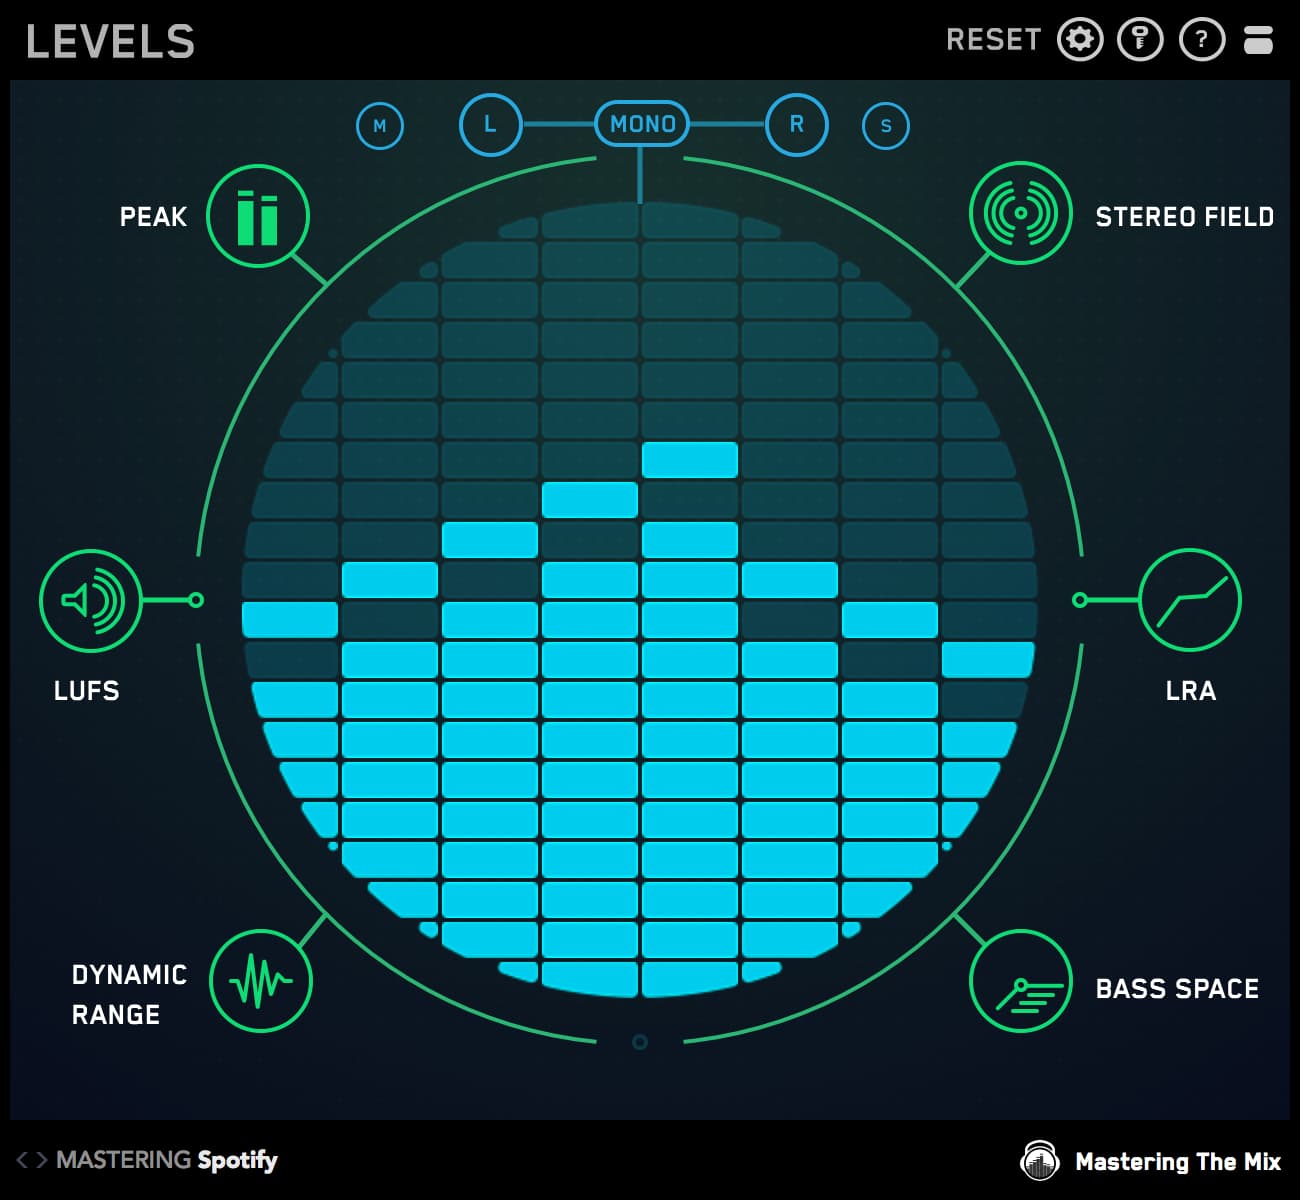
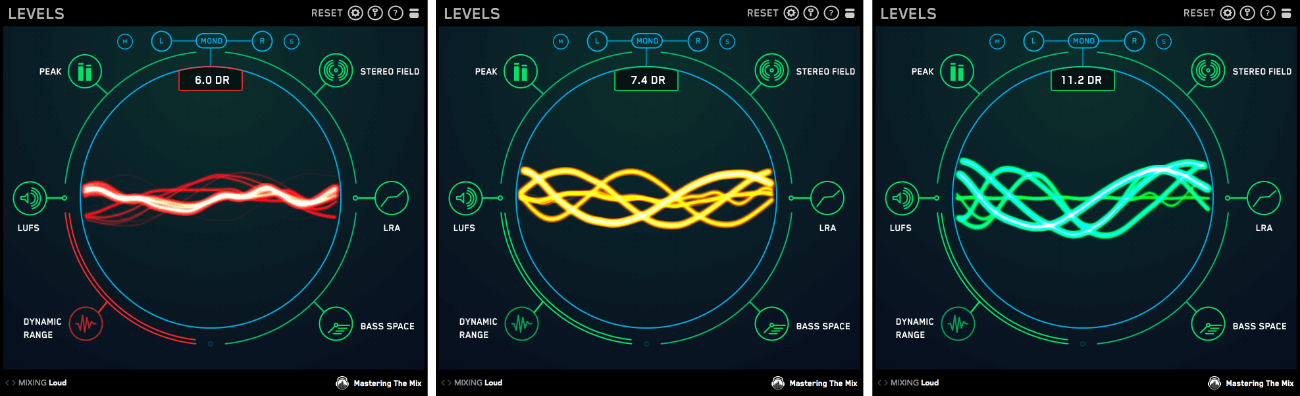
To visualize your compressor’s impact on dynamics, use the Dynamic Range section in LEVELS by Mastering The Mix. As you adjust attack and release, watch the oscilloscope: green movement indicates punchy dynamics, while orange or red warns of over-compression. This feedback helps you find the sweet spot between control and liveliness.

Conclusion
Mastering compression is a journey, but with a clear goal and the right tools, you can transform your mixes. Remember to trust your ears, tweak attack and release settings purposefully, and measure your progress using tools like LEVELS. With practice, you’ll unlock tighter, punchier, and more dynamic mixes. Now, fire up your DAW and put these techniques to work—your next game-changing mix is just a few tweaks away!
Frequently Asked Questions
What do attack and release actually do on a compressor?
Attack sets how quickly the compressor reacts once the signal passes the threshold; a fast attack clamps transients for control, while a slow attack lets them through for punch. Release sets how quickly it lets go; a fast release adds loudness and grit, while a slow release smooths dynamics but can dull the sound if too long.
What attack and release settings should I start with?
Many engineers begin with a slow attack and fast release for the most natural, transparent sound, preserving dynamics while taming the loudest peaks. As ballparks, try roughly 10 to 30 ms attack and 50 to 100 ms release on drums, 20 to 40 ms and 100 to 200 ms on vocals, and 1 to 10 ms and 100 to 300 ms on bass, then adjust by ear.
How do I set the release so compression sounds musical?
Watch the gain reduction meter and set the release so the signal just barely returns to zero before the next transient. This makes the compressor breathe in time with the track and gives your elements a cohesive feel, as though they are all moving together with the tempo of the song.
Why should I avoid just loading a compressor preset?
Settings that flatter one instrument often ruin another, so presets rarely translate well. Decide what you want first, whether that is taming peaks, gluing tracks together, or adding loudness and excitement, then set attack and release toward that goal. Knowing your intention matters more than any specific numbers.


