You’ve put in the work, balanced the levels, added EQ, maybe even compressed the life out of your snare… but something still feels off.
Maybe it’s too muddy. Maybe the vocals disappear. Maybe it just doesn’t hit like your favorite tracks.
When you’re too close to a mix or your room’s lying to you, it’s hard to know what’s actually wrong. That’s where visual feedback becomes your secret weapon.
In this post, we’ll walk through how to see your mix problems using Mastering The Mix plugins and fix them before they ruin your track
1. Compare Your Mix Using REFERENCE 2
The best way to hear what’s wrong with your mix? Compare it to a great one.
REFERENCE 2 lets you drop in pro tracks and A/B them against your mix, with automatic loudness matching, so you’re not fooled by louder always sounding better.
🟢 Do This: Load REFERENCE on your master bus. Drag in 1–3 reference tracks in the same genre. Use the Level Line to see where your mix is too dull, muddy, or overly hyped. Boost where your line spikes above 0dB. Cut where it dips below.

2. Get A Tech Check With LEVELS
Ever released a track only to find it’s distorting, lacking punch, or weirdly quiet on streaming platforms?
LEVELS acts like your mix’s final quality control. It checks for clipping, mono compatibility, stereo width issues, and LUFS levels for platforms like Spotify and YouTube.
🟢 Do This: Drop LEVELS on your master channel. Watch for red flags in the Peak, LUFS, Stereo Field, or Correlation sections. Click the Mono button in LEVELS - if your mix collapses, you’ve got phase problems. Fix them before release.

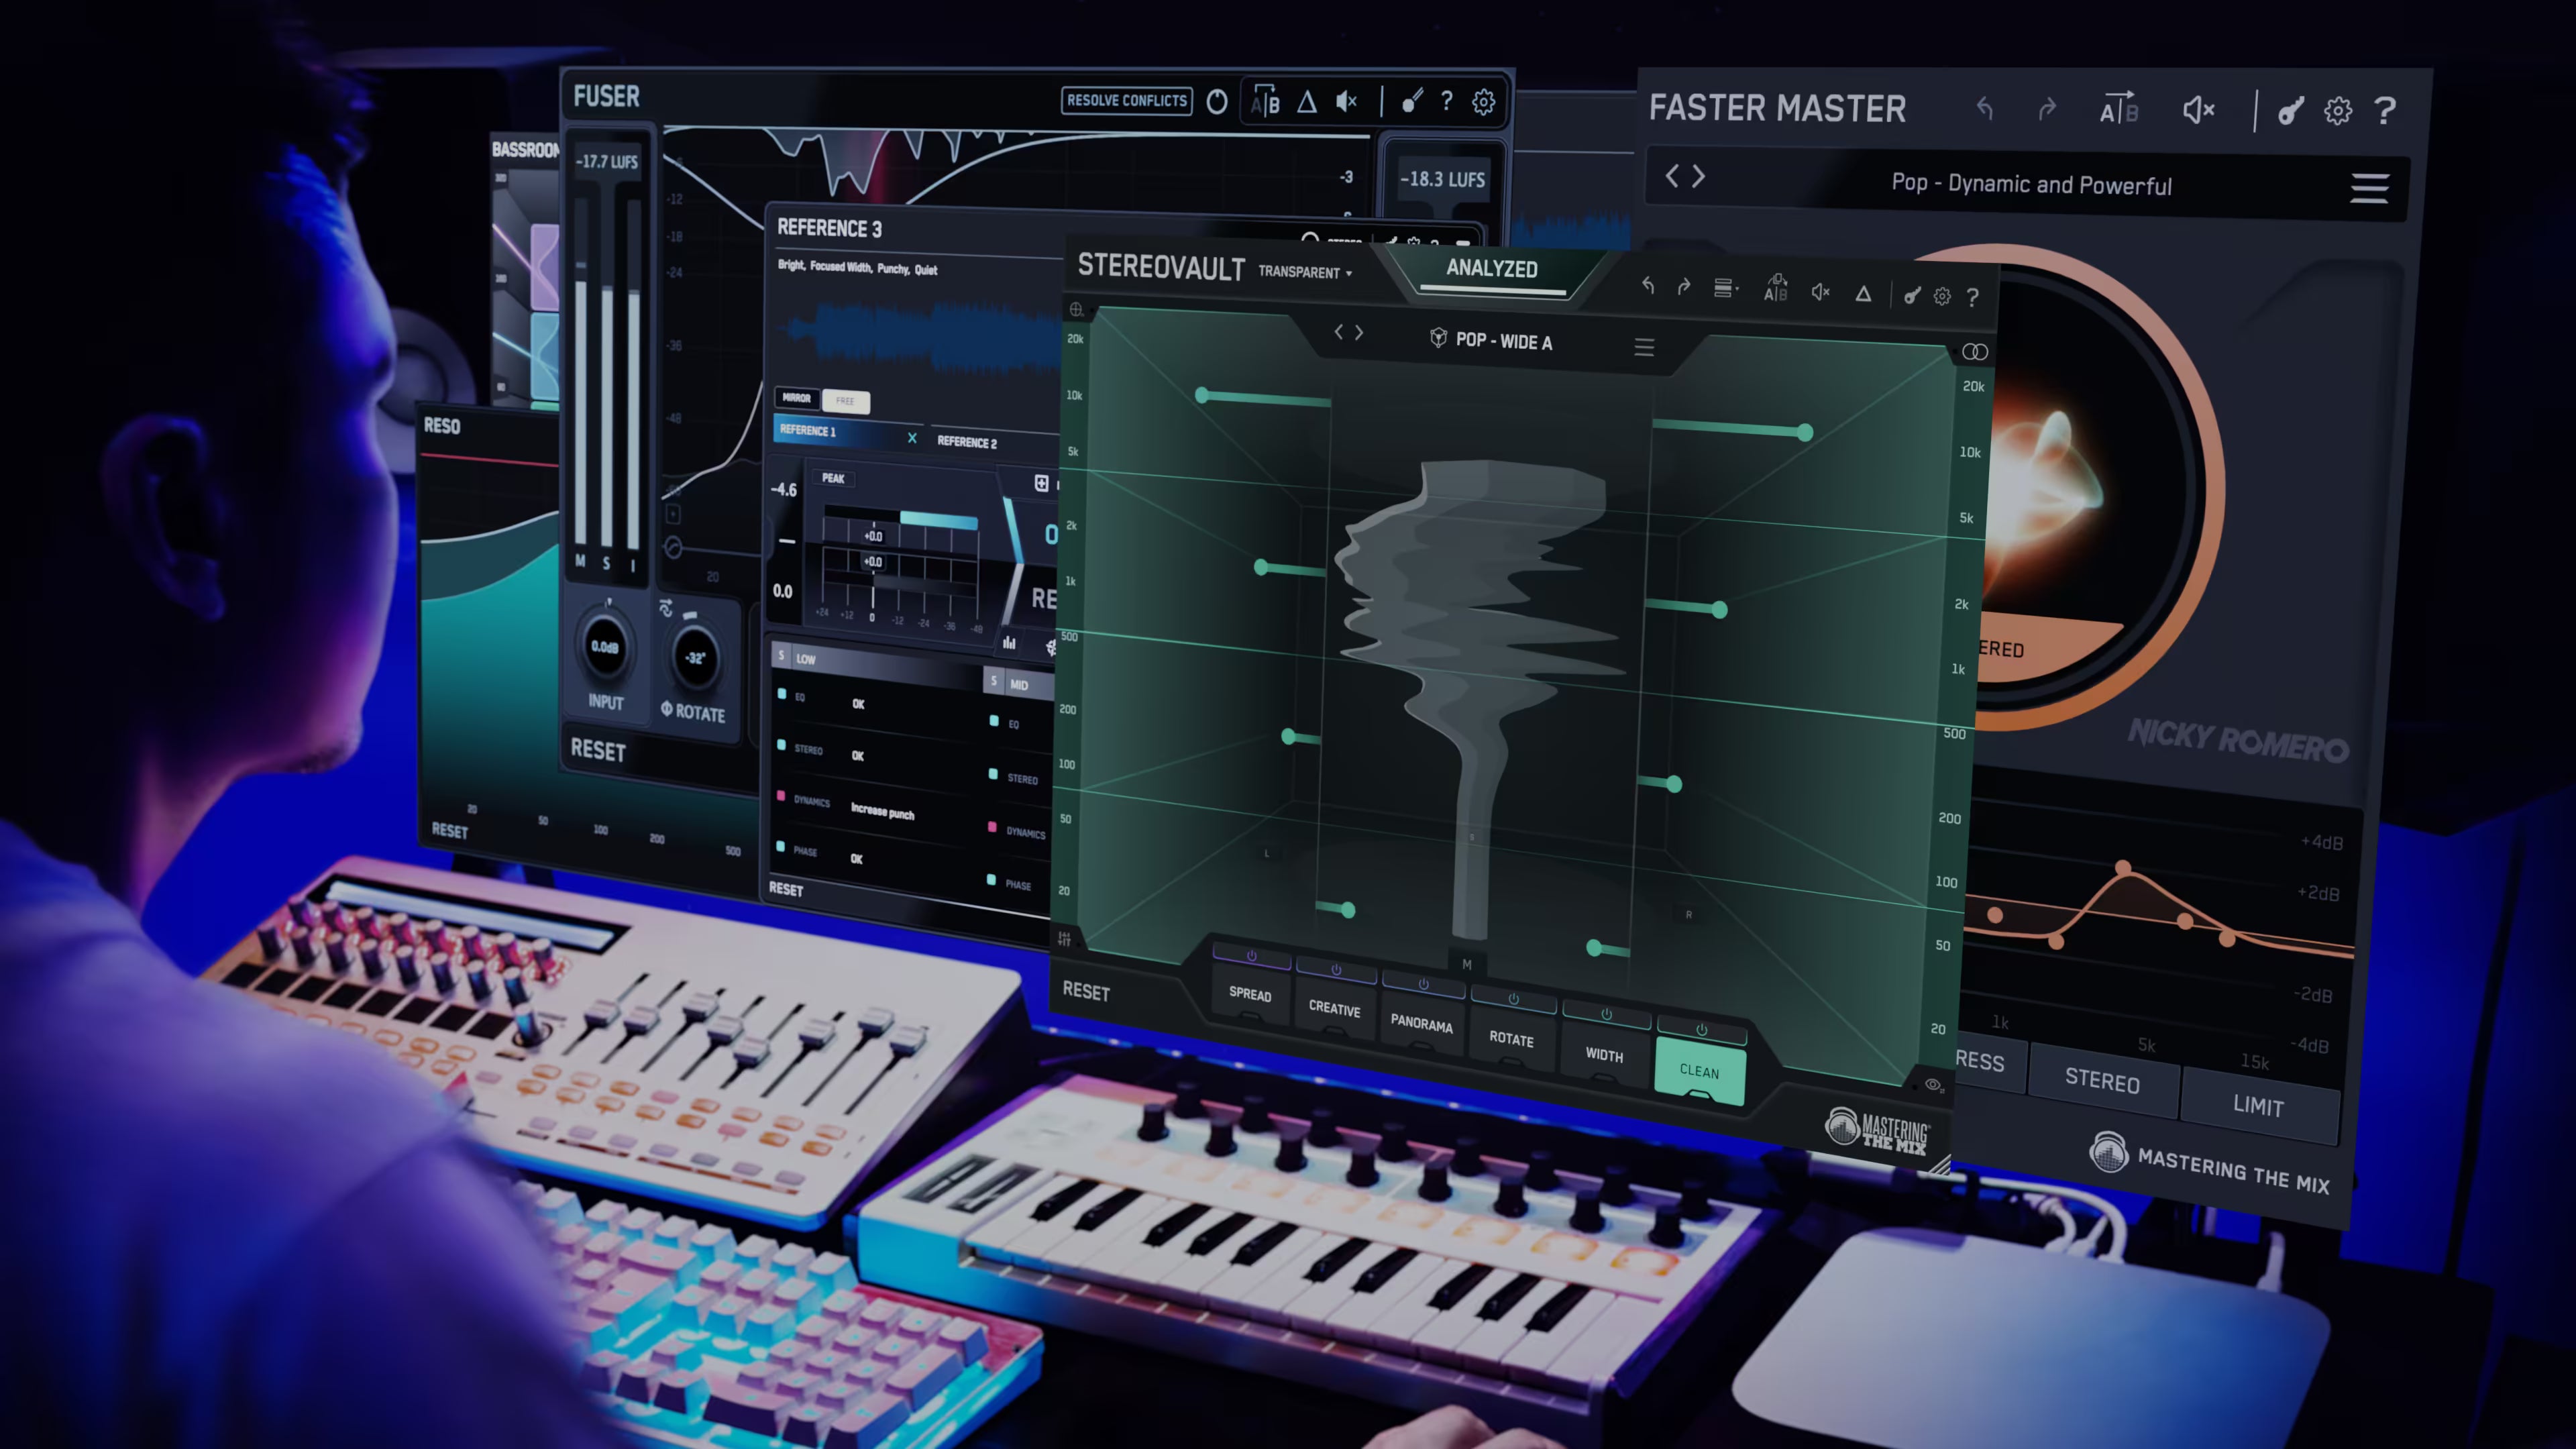
3. Visualize Frequency Clashes With FUSER
Confused about why your kick and bass sound muddy together?
FUSER’s visualizer makes it crystal clear. It shows overlapping frequencies with mid-side precision, so you can surgically fix masking issues between tracks.
🟢 Do This: Load FUSER on your bass group and sidechain the kick. Look for bright hotspots in the visualizer, those are your conflict zones. Red equals mid conflicts, yellow equals side conflicts. Click resolve conflicts, and FUSER will implement the perfect amount of dynamic ducking to the necessary frequencies with the mid-side position optimised to solve the conflict.

4. Cross-Check Tonal Balance with EXPOSE 2
Your track might sound “okay” in isolation… but is it tonally in the right ballpark?
EXPOSE 2 compares your master’s EQ curve directly to your reference track and shows you exactly where it’s too dark, too boomy, or too brittle.
🟢 Action Step: Load your mix into EXPOSE 2. Head to the Compare EQ tab, then import your reference tack as the target. Focus on the EQ Compare line. Look for big swings (+/- over 3dB) and focus on those frequency bands first.

5. Spot RESOnances Before They Wreck Your Master
Harsh peaks and ringing tones can sneak into your mix, especially once channels start stacking.
Dynamic resonance control is your best friend here, and that’s where RESO shines.
🟢 Do This: Fire up RESO on your mix bus or stem group. Use the detection algorithm to reveal resonant peaks. Add dynamic nodes only where needed. Less harshness, more headroom, and smoother tone in seconds.

6. Spot Low-End Problems with BASSROOM
If your mix sounds great in your studio but falls apart on other systems, the low end is almost always the reason.
The problem isn’t just fixing bass, it’s knowing whether you even have a bass problem in the first place. That’s exactly what BASSROOM is designed to reveal.
BASSROOM compares your low-frequency balance against genre‑accurate targets built from real professional mixes. Instead of guessing, you can instantly see if your sub, bass, or low‑mids are way off.
🟢 Do This: Load BASSROOM on your master bus or low‑end group. Choose a preset that matches your genre. Look at how your EQ curve lines up with the target bands. If the lines show you need to move the bands back in the room space, your mix is likely boomy, muddy, or overwhelming on small speakers. If the lines show you need to move the bands forward, your track may sound thin, weak, or lack impact in the drop.
Use BASSROOM as a diagnostic tool first. Identify whether the issue lives in the sub (40–60Hz), punch region (60–100Hz), or low‑mids (100–200Hz) — then decide whether to adjust levels, EQ, or arrangement. Don’t fix what isn’t broken.

7. Catch Clarity Issues with MIXROOM
Sometimes a mix sounds “off” without being obviously broken. Maybe your vocals don’t cut through, your guitars feel veiled, or the top-end lacks sparkle. MIXROOM helps you spot exactly where your mid and high frequencies are falling short or going too far.
It uses genre-specific targets to highlight if your 500Hz warmth, 2kHz presence, or 10kHz air are dialed in or out of whack.
🟢 Do This: Drop MIXROOM on your mix bus, vocal stem or any individual channel. Select a target preset that matches your genre and vibe. Instantly see where your frequencies deviate from pro standards. If the target suggestion line is suggesting you boost the high end, your mix might be lacking clarity or presence. If they’re suggesting that you cut, it could be sounding harsh, nasal, or fatiguing.
Use MIXROOM’s “Add Smart Bands” button to match the suggested EQ moves based on your current balance.

Conclusion: Fix Faster. Mix Smarter.
You don’t need golden ears, you need sharp tools and a system that shows you where to fix and how to fix it.
Here’s your checklist:
✅ REFERENCE 2: Compare to pro tracks, mix with confidence
✅ LEVELS: Technical safety net before it’s too late
✅ FUSER: Reveal and resolve frequency clashes
✅ EXPOSE 2: Nail tonal balance pre-release
✅ RESO: Clean up harshness dynamically, keep the vibe
✅ BASSROOM: Spot low-end issues and fix muddy or weak bass
✅ MIXROOM: Identify clarity and presence problems in your mids and highs
🎧 Want better mixes in less time? Grab free trials of all plugins here and hear the difference today.
No more guessing, just clear insights and pro-level results. Let’s go.
Frequently Asked Questions
Why is visual feedback useful for spotting mix problems?
When you are too close to a mix or your room is colouring what you hear, it is hard to know what is actually wrong. Visual analysers show you where the issues are, from tonal imbalance and frequency clashes to clipping and phase problems, so you can fix them before they ruin the track.
How do you do a technical check on a mix before release?
Use a metering tool on the master channel to watch for red flags in the peak, LUFS, stereo field and correlation sections. Click the mono button, and if the mix collapses you have phase problems to fix. This catches distortion, mono incompatibility and streaming loudness issues early.
How can you diagnose a low-end problem rather than guess?
Compare your low-frequency balance against genre-accurate targets built from professional mixes, used as a diagnostic tool first. Identify whether the issue lives in the sub around 40 to 60Hz, the punch region 60 to 100Hz, or the low-mids 100 to 200Hz, then decide whether to adjust level, EQ or arrangement.
How do you find frequency clashes between tracks?
Load a conflict-detection tool on the submissive group, such as the bass, and sidechain the dominant element like the kick. Bright hotspots in the visualiser are your conflict zones, with mid and side conflicts shown separately, and resolving them applies dynamic ducking only where needed.


