Are you struggling to make your mixes sound professional, even with top-of-the-line plugins and gear? Here’s the hard truth: It’s not about the tools—it’s about how you use them. Achieving a polished, professional mix starts with one critical step that many producers overlook: balancing your mix.
Getting the levels right for each element lays the foundation for everything else—EQ, compression, and effects. Without a proper balance, even the best plugins won’t save your mix. In fact, many of the world’s best mixers prove this point by creating incredible tracks using just stock plugins and focusing on the basics.
In this blog, we’ll break down the art of mix balance—why it’s so important, how to achieve it, and how tools like reference tracks and plugins can guide you toward a cohesive, professional sound. Whether you’re working on rock, hip-hop, EDM, or pop, understanding balance will transform your workflow—and your results. Keep reading to take your mixes to the next level!
 Why Balance Is Important
Most modern productions have a lot going on. In order to hear everything clearly, the mix must be well-balanced. If one instrument is too loud, it can make it difficult to hear one or more of the other instruments in the mix.
Loudness has a big impact on how people perceive sound. The ISO published a set of standards in 2003 called the equal-loudness contours that show how sound pressure level, or volume, can affect how we perceive sound.
When a track is played at low volumes, humans are still able to make out frequencies from 1-5 kHz pretty clearly, but we have trouble hearing frequencies under 500 Hz. That’s why it’s almost impossible to hear the bass when listening at low levels, but you can still hear the vocals.
As playback volume increases, our hearing becomes more balanced, making it easier to hear the high and low frequencies evenly. The ideal listening range for most home studios is around 73-76dB SPL. But mixers have no control over how loud people listen to music. Only how loud each element is in the track.

That’s why it’s crucial to make sure that your mix is balanced and that each instrument is at the proper level relative to the other channels. As you increase the volume of an instrument in a mix, it sounds closer to the listener, with more fullness in the low end and clarity in the high end.
This is why reaching for plugins right out the gate might mean you spend more time trying to improve your sound. Setting the loudness of a channel first helps you get 80% of the way there. The plugins can then help you sculpt your sound to 100% of what you’re shooting for.
Creating a basic balance between each of the tracks at the beginning of a mix gives you a solid foundation to work from and makes it easier to make critical mixing decisions down the road, like which frequencies to cut or how much compression to apply.

Use Reference To Find a Starting Point
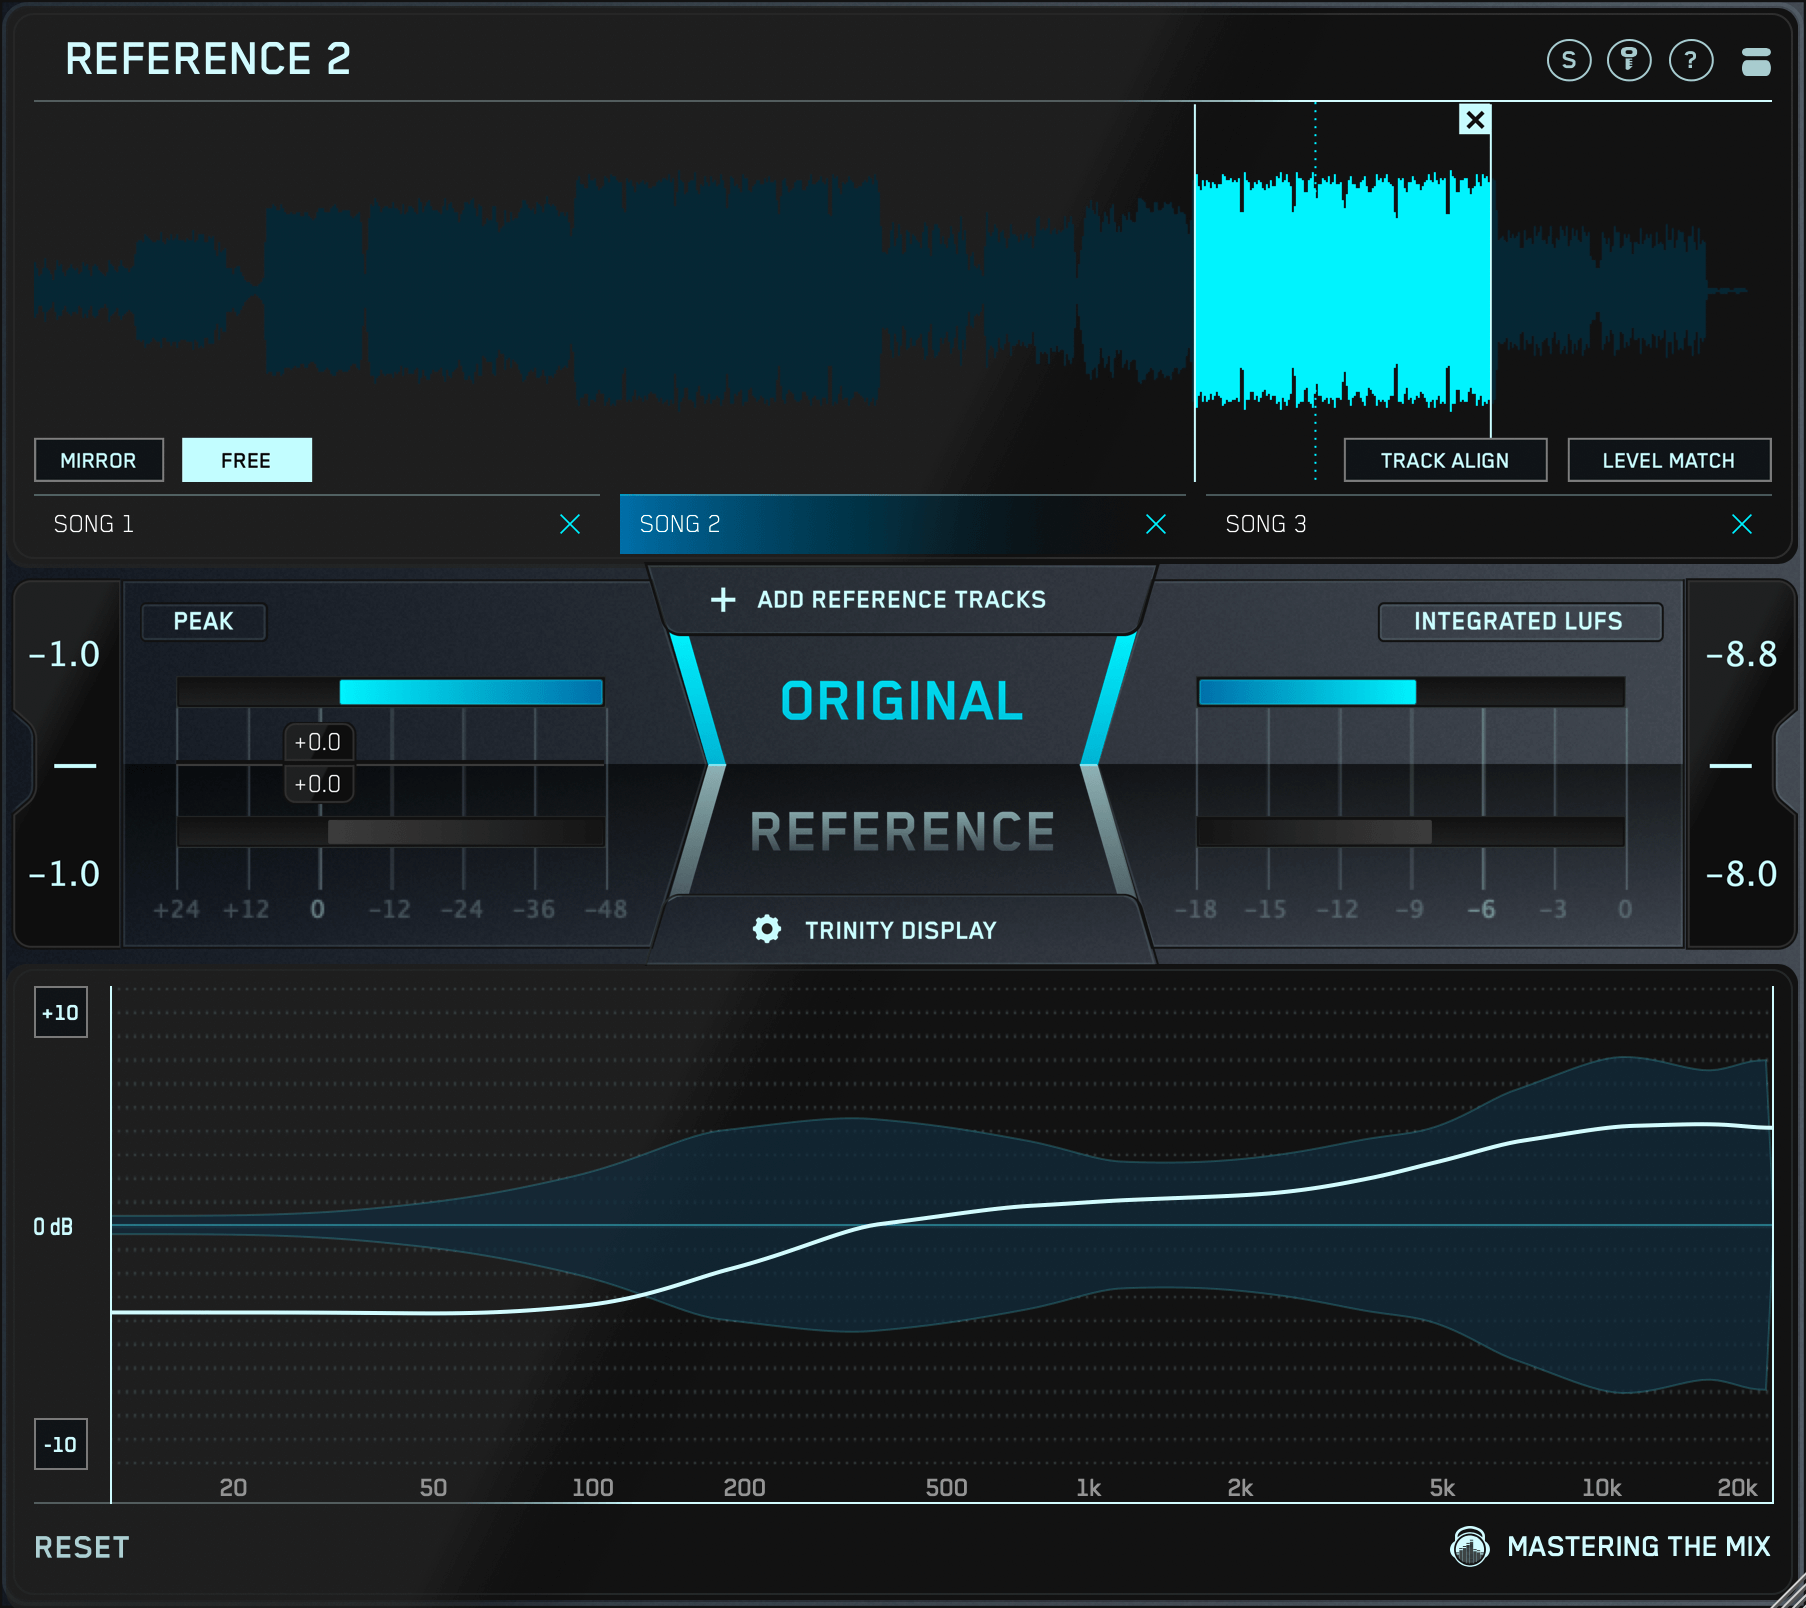
It's difficult to know exactly how loud each instrument should be in a mix. A simple way to help you dial in a balanced mix is to use reference tracks. Mastering The Mix plugin REFERENCE makes it easy to compare your mix to your favorite tracks and quickly identify differences in volume.
Just drag and drop your reference tracks into the Wave Transport and listen to how loud the snare sounds in the context of the rest of the mix. Then toggle back to your track and compare. If the volume of the snare is louder in the reference track, bring your snare fader up to match.
You can repeat this process for every instrument in the mix. Just be sure to use the level match feature in REFERENCE for a fair comparison. As I mentioned earlier, louder sounds seem brighter in the top-end and fuller in the low-end which can trick you into making poor mixing decisions.
Since you’re still in the mixing stage, your production should typically be a few dB quieter than a fully mastered track. This can make comparing your mix to professional references tricky, as louder tracks often seem better due to their perceived fullness and brightness. The Level Match feature in REFERENCE eliminates this issue by accurately aligning the perceived loudness of your reference tracks with your mix. This ensures a fair, unbiased comparison, allowing you to make informed mixing decisions that result in clear and impactful improvements to your sound
 How to Balance Each Element of a Mix
Only one instrument can be the loudest track in the mix at a time. So the loudest instrument should be whatever is the focal point of the song at that moment. In most cases, that’s the vocal.
However, many engineers choose to start their mix with the drums, as they encompass the entire frequency spectrum, making it easier to hear the balance between high and low frequencies.
Drums
Start by setting the snare fader at 0 dB and bringing the rest of the drum mix in around it. The snare is the foundation of the backbeat, and typically one of the loudest elements in the mix.
Next, bring the kick fader up until it sounds almost as loud as the snare. It should be loud enough that the low frequencies are rich and powerful, but not so loud that it masks the bottom-end of the snare drum.
Then, start bringing in the toms. These can be almost as loud as the snare if they’re used sparingly, but if they’re heavily featured they should sit a little further back in the mix.
Start bringing in the cymbals, overheads, and room mics as needed. The level of these tracks will vary greatly from genre to genre, but they should definitely all be used to support the main close mics—not overpower them.
One key component of balancing the drum mix is panning. Use the pan knob to add separation between the toms, widen out the overhead mics, and add depth to the room mics.
Just make sure to frequently check your mix in mono. You never know where your track will get played, and you want to make sure it sounds good in every format.
LEVELS features a mono button at the top for quickly referencing your mix in mono. Select a mixing preset in LEVELS (presets in the bottom left corner) so that you get a warning if you push your peak or loudness too high. The sections in LEVELS will turn red if there’s an issue, and you can hover over the section icons to learn how to fix the identified issue.
Remember, if it sounds good in mono, it will sound great in stereo! Vice versa is not always the case.
 Bass
Bass
Once you’ve got your drums balanced, it’s time to bring in the bass. This step can be tricky due to the sheer amount of low-end energy in both the bass and the kick drum. The goal is to make the low end feel big and powerful without letting the bass overpower the kick—or vice versa.
1. Set the Right Level and Keep Checking References
Start by bringing up the bass fader until the low end feels rich and full. Then, compare it to your kick drum to make sure the two don’t clash. The bass should sit just loud enough to reinforce the low end, but not so loud that it masks the punch or clarity of the kick drum.
Don’t forget to check your reference mixes regularly. They’ll help you stay on track with low-end balance and avoid overloading your mix. REFERENCE is a fantastic tool for this—its level-matching feature ensures that your reference tracks are compared at the same perceived loudness as your mix, giving you an unbiased perspective.

2. Using FUSER for Frequency and Phase Alignment
Low-end clarity can also be affected by frequency masking, which occurs when the kick and bass compete for space in the same frequency range. FUSER is a powerful tool that can help you identify and resolve this issue.
• Frequency Masking: Use FUSER’s visualization tools to pinpoint areas where the bass and kick overlap. You don’t need to completely eliminate the overlap, but subtle dynamic ducking or EQ adjustments to carve out space for each can make a huge difference.

• Phase Optimization: Another common issue in the low end is phase misalignment between the kick and bass. When their waveforms are out of phase, it can cause certain frequencies to cancel out, resulting in a weak and inconsistent low end. FUSER allows you to visually analyze the phase relationship between the kick and bass and make precise adjustments to align them. By optimizing the phase, you ensure that the kick and bass work together to create a fuller, more cohesive low-end foundation.
• Volume Matching for Perceived Loudness: FUSER’s volume-matching feature is especially useful for fine-tuning the relationship between the bass and kick. While you don’t want them to be at the exact same level, using volume matching can help you determine their relative loudness more accurately. This allows you to adjust the faders with confidence, ensuring the bass complements the kick without overpowering it—or vice versa.

While FUSER is especially helpful for aligning the kick and bass, its volume-matching tools can also be used to compare other channels in your mix. For instance, you might check the relationship between the lead vocal and guitars or between multiple layers of synths. You don’t need to match them perfectly, but understanding their relative loudness can help you create a balanced, professional-sounding mix.
Vocals
This is typically when I start to bring the vocal into the mix. I find that if I wait until I bring in the other elements like guitar and synth, it can start to sound like a karaoke track with the vocals slapped on top.
The earlier you bring the vocal into the mix, the easier it is to make it the focal point. The vocal should be the loudest element in the mix, but not so loud that it feels disconnected from the rest of the band.
Since drums are short transient bursts, they can have a higher peak than the vocal, but not seem louder in the context of the whole mix.

Instruments
Next, bring in the remaining instruments in order of importance. If it’s a rock song, start with guitar 1, then guitar 2, and so on. Then move on to the keys, and all the way down the list to the glockenspiel you used in the outro.
Use panning to help create separation, and remember to check your mix in mono and compare against your reference mixes often.
Remember, only one instrument can be the focal point at any given time.

Conclusion
Learning how to balance all of the elements in a mix can be difficult, especially since tastes tend to change from genre to genre.
In rock music, the guitars are one of the loudest instruments. In hip-hop, it’s often the kick/808. In EDM, it’s usually the bass. And in pop music, the vocal is everything.
It may take a little extra time at the beginning of your mix, but by balancing all of the elements in your session first (before any EQ, compression or effects), it makes it easier to address frequency and dynamics issues later on because you have a clear vision of what you want the mix to sound like.
Just remember, it’s the ear, not the gear, and reference tracks will keep you on the right path from start to finish.


