The mighty equalizer is among the audio engineer's most oft-used — and powerful — tools. It's your primary means of carving out frequencies for your tracks to live in.
While you can do a lot with a stereo EQ, whenever pro-level engineers really need to apply surgical sonic sculpting, they reach for an EQ with mid-side capabilities. Our MIXROOM plug-in not only offers industry-leading sound, but its robust mid-side processing is truly in a class by itself.
In this post, we'll explore what mid-side processing is, how it's implemented in MIXROOM, and how you can use MIXROOM's generous feature set to take your mixing and mastering projects to a higher level.

What's Mid-Side Processing?
Before we get started, we should explain what mid-side processing is. As its name suggests, mid-side processing splits a stereo signal, which usually consists of a left and right channel, into two components: mid and side.
Mid is the center channel, which is created by summing the left and right channels of your stereo signal. It's the same as panning your stereo signal's left and right channels to the center.
Side contains all the information from the left channel of your stereo signal, minus the information from the right channel (left + phase-inverted right). This essentially removes the audio in the center of your signal.
Separating the mid and sides of your signal enables you to process them individually.

Mid-Side Processing in MIXROOM
Mid-side processing works by adding and subtracting signals, and altering phase, to encode the left and right channels. Back in the day, mid-side processing required a hardware encoder and decoder, or multiple mixer buses and phase inversion.
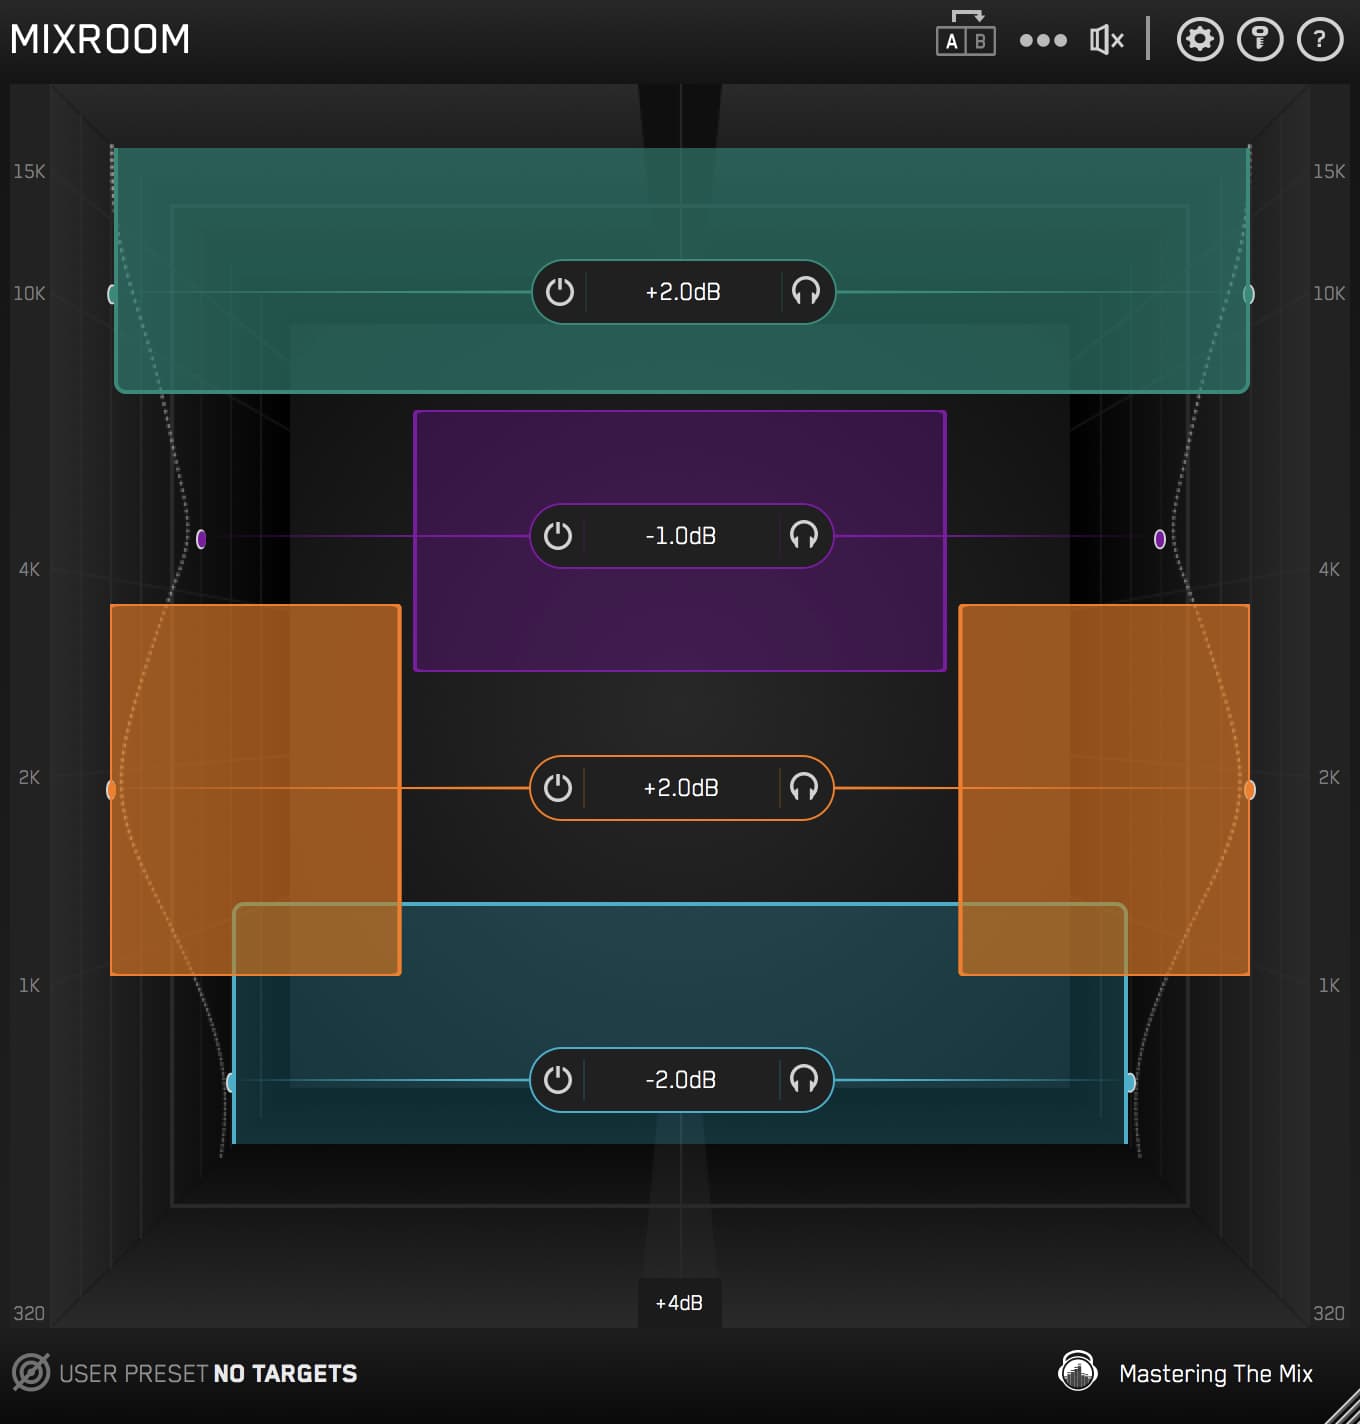
These days, employing mid-side processing is much easier, as many software applications, such as our MIXROOM plug-in, boast built-in mid-side capabilities. Each frequency band in MIXROOM includes full mid-side functionality, supplying you with ample sonic shaping for your stereo spread.

With MIXROOM, you can easily adjust the gain of a specific frequency in a precise stereo position. Simply hover your mouse over an EQ band's control panel, then click M for mid, S for side, or the stereo icon for stereo.

What's more, MIXROOM gives you more control than competing EQ plug-ins, allowing you to click and drag the stereo icon left or right to set the exact mid-side amount. This gives you ultra-precise fine-tuning, which can have a considerable effect on your overall sound — a must-have for mission-critical tasks, such as mastering.
Improving Imbalances with Mid-Side Processing
Mid-side processing can be an effective problem-solver when dealing with lopsided mixes during mastering.
For example, overzealous panning can create a hollow-sounding mix with lots of power and movement on the extreme left and right of your stereo image, but little going on in the center. This can be improved by deploying mid-side processing, goosing the mid channel, and taming the side channel.
Conversely, if you're dealing with a narrow-sounding mix, with a lot of center activity but with little energy on the sides, you can use mid-side processing to lift the side channel to create a wider stereo image.
A word of caution, however. Mid-side processing should be used subtly during mastering — heavy-handed mid-side EQ-ing is a surefire way to distort a mix's stereo image in an extremely unflattering way.
For the most part, you should stick to low Q values with wide bands to avoid creating unpleasant resonant peaks or obvious cuts. Also, try to keep any EQ cuts and boosts under 4dB.
If your master requires ham-fisted EQ moves, it may be best to return to the mix phase and fix whatever is causing it to sound off-kilter.
MIXROOM's Master Mode (MST) takes this into account by using unique filters that are optimized for transparency. Master Mode limits boosts and cuts to 4dB or less, with Q bandwidth settings broader than 1.5.
Overenthusiastic mid-side processing is definitely detrimental to mastering, but it can also wreak havoc on individual mix elements. For example, creating an uber-wide drum bus might sound cool at first, but, in the context of your entire mix, it can sound quite artificial and completely throw off the balance of your mix.

6 Ways to Deploy Mid-Side Processing
#1 — Widen a Mix
A mid-side EQ is the perfect tool for creating wider mixes. To start with, use it to roll off the lower frequencies in the mid channel — up to roughly 40–60Hz.
Be careful not to cut too much, however, or you'll end up with a thin- or hollow-sounding mix.
Next, boost the high frequencies of the side channel with an 8–10kHz high shelf. You'll be amazed at what a difference a subtle 1dB high-frequency bump on the side channel will make on a narrow, dull mix.
The more you boost the highs, the wider your mix will sound. That said, don't get too carried away, or you may create phase issues within your mix.
Of course, if you're using MIXROOM's Master Mode, you won't have to worry about taking things too far, as its optimized filters will ensure a transparent result every time.

#2 — Tighten Your Bass
When low frequencies dominate your mix's entire stereo field, they can overpower everything else; they're occupying more space than they need to. After all, most subwoofers work in mono, and our ears have trouble discerning the directionality of low-frequency content.
Applying a highpass filter to the side channel is an easy, effective way to rein in these out-of-control bass frequencies. By taming the low frequencies in your mix's side channel, you'll be able to remove potential muddiness, which will tighten and center the bass in your mix.
#3 — Clean Up Mud
If you're struggling with a muddy mix during mastering, attenuating low-midrange frequencies within the side channel can help. For example, you can carve the mud out of hard-panned electric guitars with a low-shelf filter, while preserving the kick and bass in the mid channel.

#4 — Up-front Lead Vocals
If your lead vocal is buried in the mix, mid-side processing can give it clarity and help it sit better without unbalancing your mix with an overblown boost. Assuming your lead vocal is panned center, you can use mid-side processing to carve midrange frequencies on other tracks that are masking the vocal track.
First, determine the frequency range you want to highlight in your vocal track. Do this by boosting a bell filter on your EQ and sweeping around the frequency spectrum. Listen for the frequencies that give the vocal its power and clarity.
Next, ascertain which tracks are competing with the vocal and route them to a bus. Lastly, attenuate the clashing frequencies in the bus's mid channel to make room for the vocal.
Best of all, since you're only attenuating frequencies in the mid channel, the rest of your stereo field will remain unaffected.

#5 — Tame Supporting Elements
Sometimes supporting elements get in the way of your mix's primary elements. You can use MIXROOM's ultra-precise mid-side processing to attenuate frequency collisions caused by supporting elements at the exact spatial location as the primary elements.
For example, if background vocals or auxiliary percussion are fighting with the focal elements of your mix, attenuate frequencies in the 8–12kHz range on the supporting track at the same spatial location as the primary element.
Doing this will keep supporting elements from clashing with primary elements, while still allowing the supporting elements to retain their full clarity.

#6 — Take Command of Reverb
If you're shooting for an ambient-sounding mix, but reverb is overwhelming everything, try applying mid-side processing to your effects send. If the reverb is washing out a center element, attenuate competing frequencies in the mid channel; if reverb is washing out a stereo element, attenuate competing frequencies in the side channel.
Conclusion
With MIXROOM, you'll be able to sculpt frequencies with a precision you didn't know was possible. Its industry-leading mid-side processing is second to none, and its ultra-transparent filters will ensure a professional sound equal to anything else on your audience's playlist.
Keep following our blog to continue elevating your skills with our advanced mixing and mastering tips, tricks, and techniques.
Frequently Asked Questions
What is mid-side processing?
Mid-side processing splits a stereo signal into two components. Mid is the centre channel created by summing left and right, while side contains the left channel minus the right, which removes the centre. Separating them lets you process each individually.
How do you widen a mix with mid-side EQ?
Roll off the lowest frequencies in the mid channel up to roughly 40 to 60Hz without cutting too much, then add a subtle high shelf around 8 to 10kHz on the side channel. Even a 1dB side boost can noticeably widen a narrow, dull mix.
How does mid-side processing tighten bass?
Low frequencies are hard to localise and most subwoofers work in mono, so applying a highpass filter to the side channel removes muddiness and tightens and centres the bass without it spreading across the whole stereo field.
How much mid-side EQ is safe during mastering?
Use it subtly. Stick to low Q values with wide bands and keep cuts and boosts under 4dB to avoid distorting the stereo image. If a master needs heavy-handed mid-side moves, it is better to fix the issue back in the mix.


