

Perfecting stereo width in mastering is difficult because the moves are usually small, but the consequences are huge. Push too far and the low end can weaken, the centre can lose focus, and the whole track can start to feel less solid, even if it sounds exciting at first.
That is exactly what STEREOVAULT was built for. It analyses your audio, gives you a smart starting point, level matches every adjustment so you can trust what you are hearing, and lets you shape width across the spectrum with incredibly clean crossover filters.
And for mastering, that all happens in Transparent Mode, which was designed specifically for clean, mastering-grade stereo control. So instead of guessing, overcooking it, or being fooled by louder sounding wider, you can make precise stereo decisions that actually improve the master.
Why Transparent Mode Matters For Mastering
STEREOVAULT has two band workflows: Transparent and Flexible. For mastering, you want Transparent.
When you're working on a finished mix, even tiny artifacts matter. A mastering-grade stereo tool needs to be invisible. Transparent Mode gives you that. The width changes sound clean because the crossover filters are so refined that they don't introduce colouration or mess with the tonal balance of the mix.
Flexible Mode is brilliant for mixing, where you might want different band layouts on different tabs for creative work. But on a master, Transparent Mode is best.

Smart Presets: Let STEREOVAULT Analyse Your Master
Smart Presets are where your mastering session should start. STEREOVAULT listens to your audio and suggests a balanced, genre specific starting point.
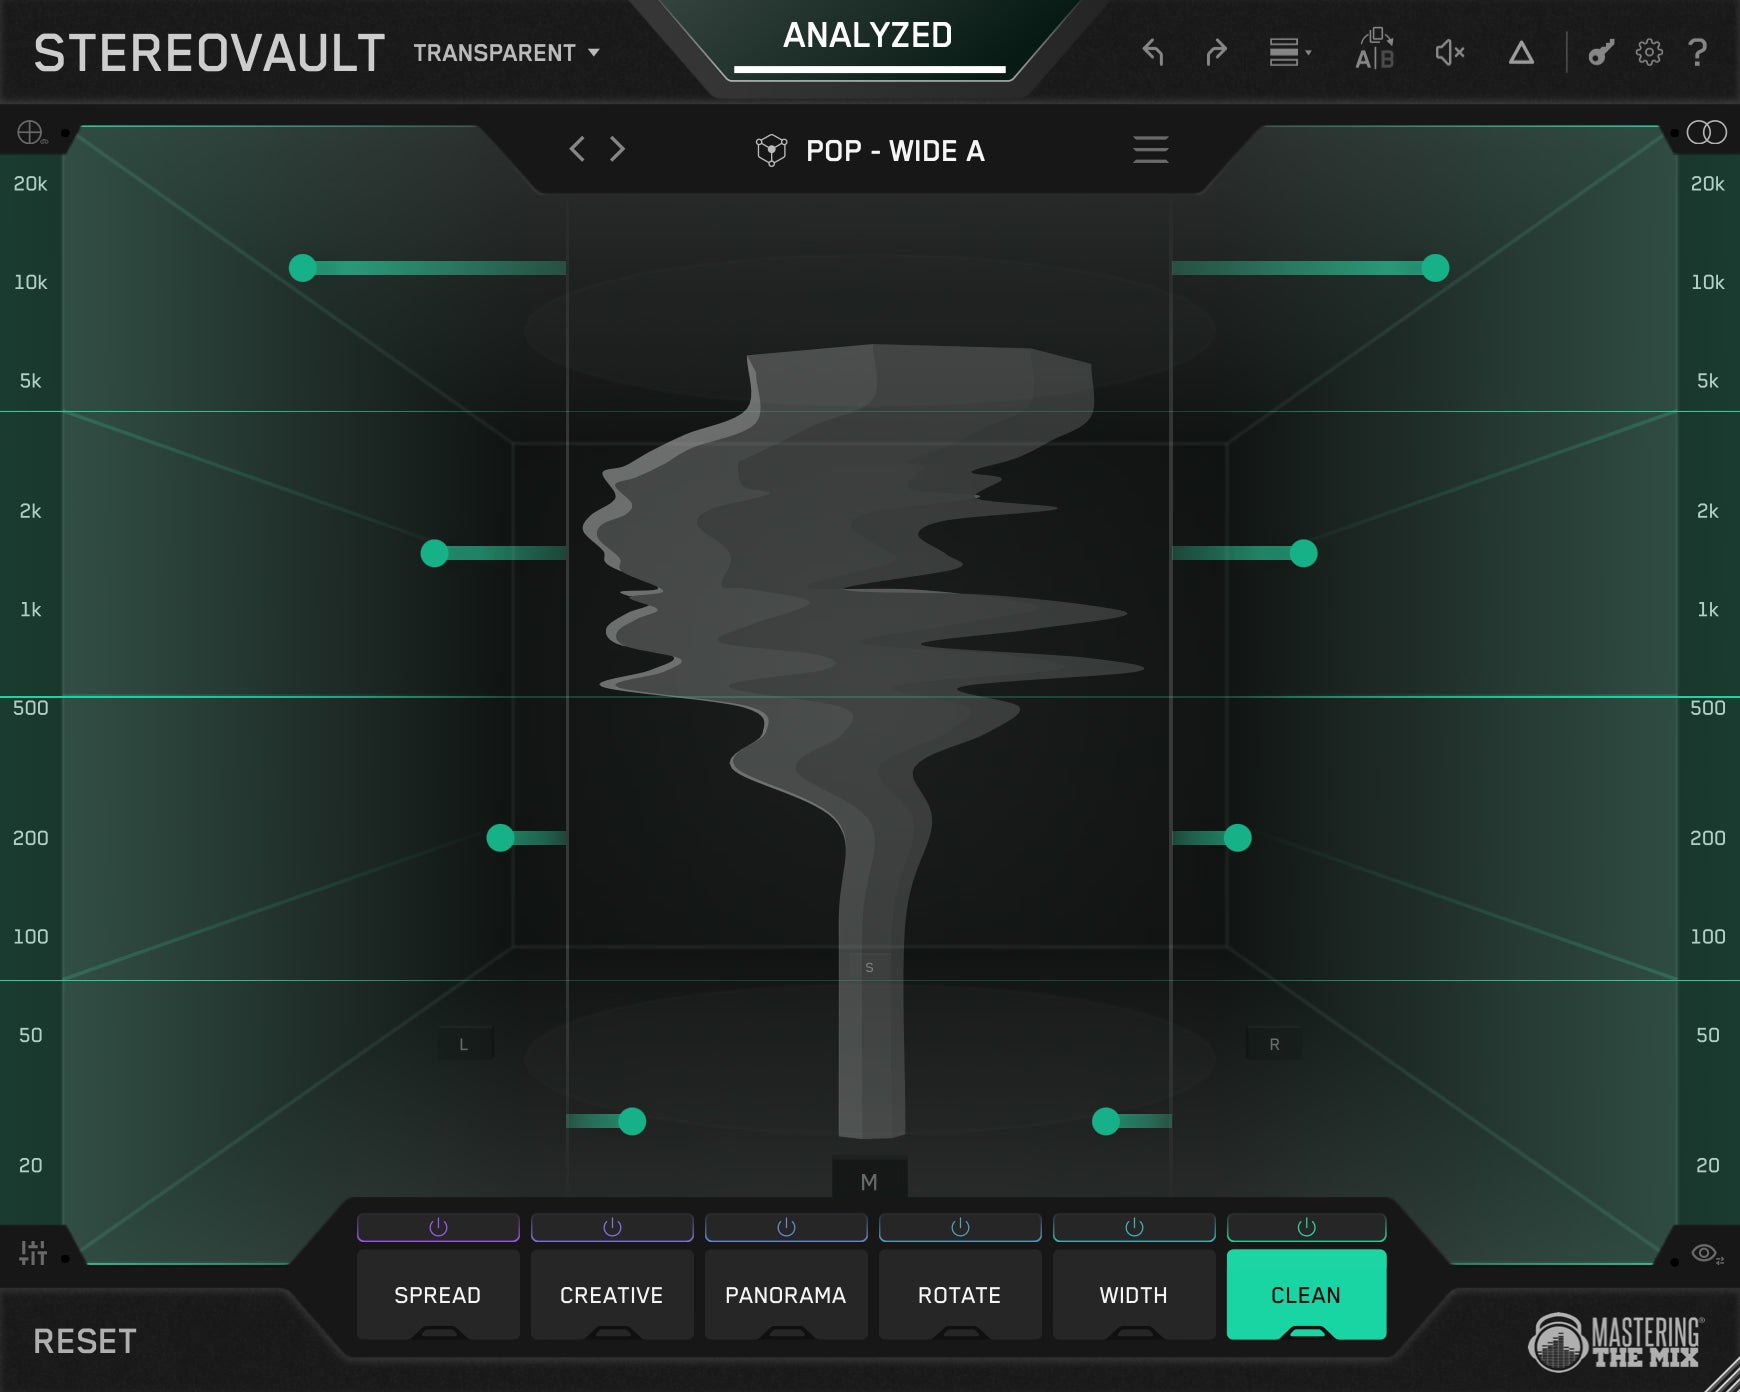
Here's the workflow. Play the loudest section of your master (the chorus, the drop, the peak moment) and hit Analyze. STEREOVAULT runs its analysis. As it’s analyzing, choose your genre and set the source type to mix. STEREOVAULT finds a smart preset built specifically for that context.
From there, you can flick between the different width options: Focused, Balanced, Wide, and Super Wide. These labels are relative to what you selected. A "Wide" setting for a Rock master is aiming for a different result than "Wide" on a Pop master. Both reflect what's appropriate for that genre and that material. This context-awareness is what separates Smart Presets from the generic factory presets in most other plugins, where the names sound cool but the settings have no relationship to what you're actually working on.
Also it’s not just blindly applying width. It’s listening to your audio and determining whether the width needs to be boosted or cut and at which frequencies.
Smart Presets always use Clean mode for the most transparent width adjustments. Clean is a Side EQ that boosts or cuts the side signal in dB, so you're shaping stereo width with maximum clarity and excellent mono compatibility. No spatial tricks, no phase manipulation. Just precise control over how much side energy exists at each frequency.

Use Reference Tracks To Get The Width Right
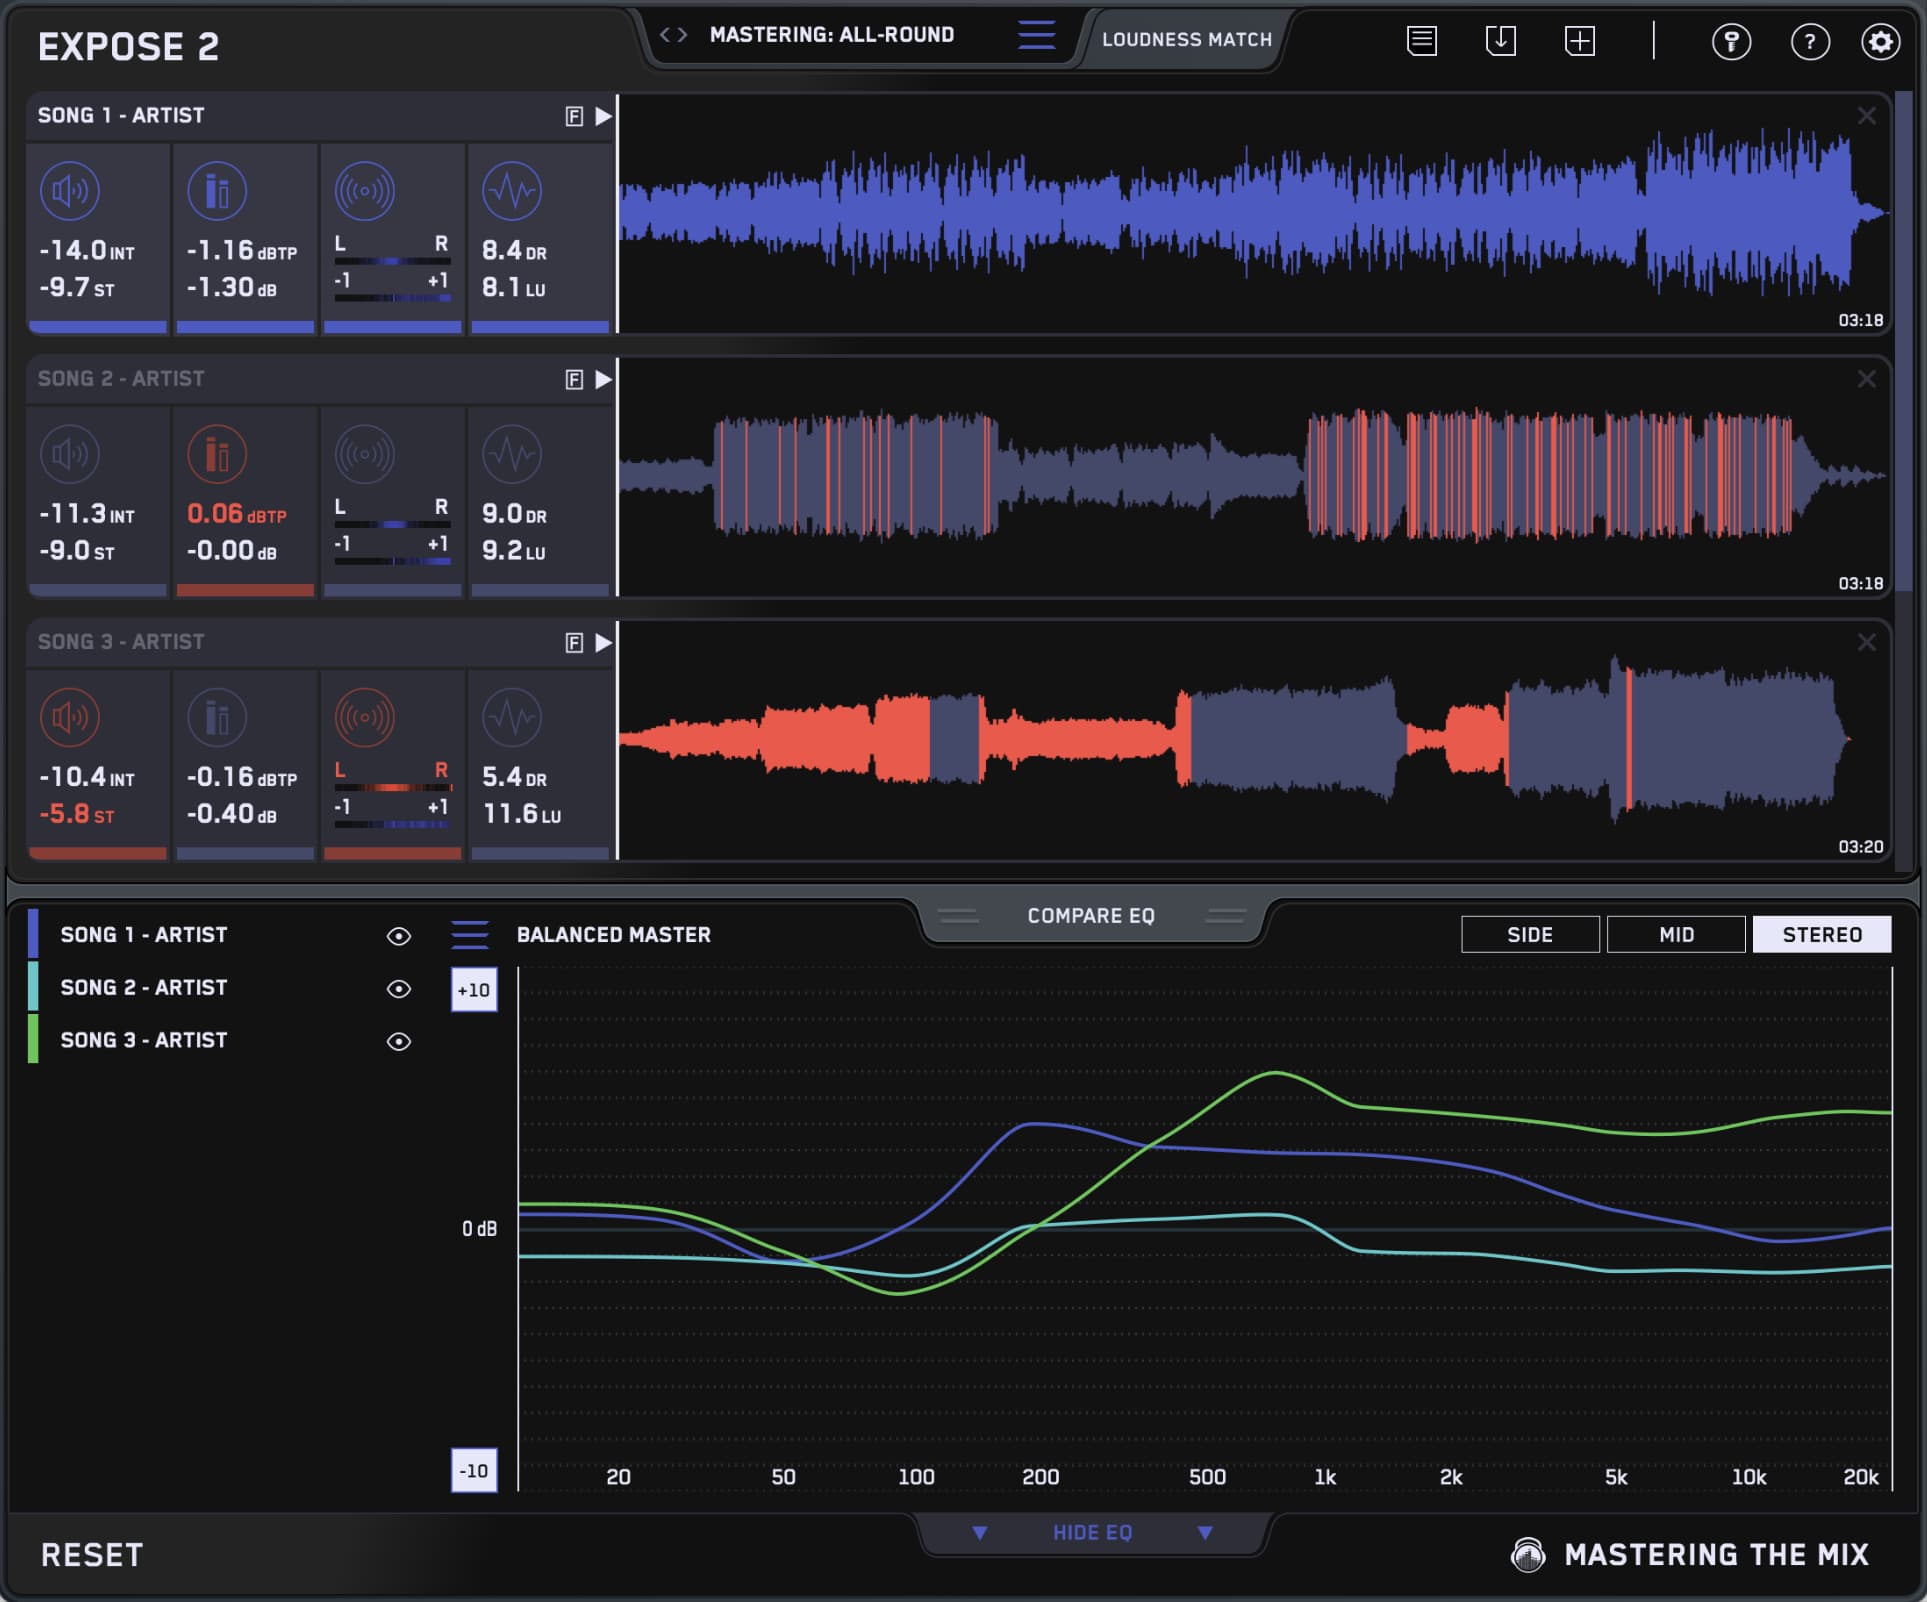
If you pull a great sounding reference into REFERENCE 3, you can use the stereo width analysis to see where your master is narrower or wider across the spectrum. So instead of just feeling like your track sounds a bit smaller, you can actually see whether the difference is in the low end, the mids, or the top end. You can then very easily dial that in manually in STEREOVAULT
Then in STEREOVAULT, you can actually import your own reference track and use that to set the width target. That’s quite cool, because now you’re not just widening things until they feel exciting. You’re shaping your stereo image against something that already works.
So the combination is really strong. REFERENCE 3 helps you understand the width profile you are aiming for, and STEREOVAULT helps you move towards it with clean, level matched, per-band control. That is a pretty smart way to dial in width on a master.

Comparing And Fine-Tuning Presets
I don't recommend that you just accept the first preset and move on. The real power is in comparison.
Apply a Smart Preset, listen, then use the arrow buttons to step to the next one. You can also jump between Focused, Balanced, Wide, and Super Wide to hear how each option treats the same audio.
The A/B button in the toolbar is useful here too. Copy your current settings to the B slot, apply a different preset to A, and flip between them instantly. You might find that Balanced suits the verse but Wide suits the chorus, and you end up somewhere in between.
Once you've picked a preset, fine-tune the individual band sliders. Maybe the low-mids need slightly less side energy, or the high end could open up a touch more. The preset gave you the shape. Now you're refining the detail.

Level Matching: Stop Fooling Yourself
This is the single most important feature for mastering decisions.
Wider stereo processing tends to increase the volume of your mix and sound louder and louder sounds better. Without level matching, you'll pick settings that feel more impressive but are actually overdone. You widen the master, it gets louder, you think you've improved it, and you've tricked yourself into overprocessing. It’s been happening in plugins for decades.
Once you've analysed your audio, STEREOVAULT level matches all your adjustments. The output level stays matched to the input, so you're hearing the actual stereo change and nothing else. When the width sounds better with level matching on, it genuinely is better. You're not chasing a volume bump.
This changes how you evaluate every move you make. A width increase that sounded amazing without level matching might sound slightly thin or phasey when the volume is compensated. That's the real comparison. That's what your listeners will hear. Level matching keeps your mastering decisions grounded in reality rather than excitement.

Using The Visualiser To Confirm Your Width
Your ears are the priority, but the Stereo Visualiser gives you a second opinion that's worth checking.
It shows the stereo width of your audio across the full frequency spectrum in real time. Low frequencies at the bottom, highs at the top, horizontal spread showing how wide things are at each point. As you adjust your Smart Preset settings, you can see the width change in front of you.
This is especially useful for catching problems you might not hear on your monitoring setup. If the low end is wider than you intended, you'll see it spreading out at the bottom of the display. If the top end has narrowed when you didn't mean it to, that'll be visible too.
Switch to 3D mode for a more detailed picture showing Mid and Side energy across the spectrum. Activate the stereo phase display to monitor for phase cancellation if you're pushing the width harder. Between your ears and the visualiser, you can make stereo decisions with real confidence rather than guessing and hoping the master translates.

Spread Modes For Mastering
Smart Presets uses the Clean tab only. You can also explore manual options in the Spread tab.
Diffuse is the standout option for mastering. It uses cascaded allpass filters tuned per band to spread the stereo image smoothly without colouring the sound. Zero phasiness artifacts at any frequency. If you want to add width beyond what Clean provides, Diffuse is the cleanest way to do it. Try it on the mid and high bands while keeping the low end on Clean with minimal or no side energy.
Pristine is another solid choice. It adjusts the Mid/Side balance and injects side energy for a direct, predictable width change. It's the fastest way to dial in a simple width adjustment when you don't need the diffusion character.
Vintage is warmer and more coloured, which makes it better suited to mixing individual stems. It’s especially powerful on mono, so if you’re remastering a mono file, Vintage will be an absolute life saver. On a full master, Vintage can add character, but Diffuse and Pristine will give you the transparency that mastering demands.

A Typical Mastering Workflow
To tie it all together, here's a practical workflow from start to finish.
Load STEREOVAULT on your master bus and switch to Transparent Mode. Play the loudest section and hit Analyze. Set the source to Mix, choose your genre, and audition the Smart Preset options. Pick the one that gets closest to what you want, then fine-tune the band sliders.
Check the visualiser. Is the low end tight and centred? Is the top end as open as you want? Bypass the plugin and listen to the unprocessed signal, then switch back. With level matching active, that comparison is honest.
If you want more width on the upper bands, try switching to Diffuse in the Width tab. Use the A/B slots to compare your original settings against any new tweaks. Make small moves. On a master, a couple of dB of side energy in the right place is often all it takes to go from "nearly there" to "finished."
Step back, listen on a different playback system if you can, compare to your reference tracks, and trust what you hear. STEREOVAULT got you to a good starting point in a few clicks. The rest is down to your taste.
Frequently Asked Questions
Why should you use Transparent Mode in STEREOVAULT for mastering?
On a finished mix even tiny artifacts matter, so a mastering stereo tool needs to be invisible. Transparent Mode uses crossover filters refined enough that width changes stay clean without adding colouration or disturbing tonal balance. Flexible Mode suits creative mixing, but Transparent is best on a master.
How do Smart Presets give you a starting point for width?
Play the loudest section and hit Analyze, then set the source to mix and choose your genre. STEREOVAULT suggests a balanced, genre-specific preset and lets you flick between Focused, Balanced, Wide, and Super Wide. The labels are relative to that material, so they reflect what suits your track.
Why is level matching the most important feature for stereo decisions?
Wider processing tends to raise volume, and louder sounds better, so without level matching you pick settings that feel impressive but are overdone. STEREOVAULT keeps output matched to input, so when width sounds better it genuinely is better, keeping decisions grounded in reality rather than excitement.
Which spread modes suit mastering in STEREOVAULT?
Diffuse is the standout for mastering, using cascaded allpass filters to spread the image smoothly without colouration or phasiness. Pristine adjusts Mid/Side balance for a direct, predictable change. Vintage is warmer and better for individual stems or mono material rather than a full master.