Stereo can make a mix feel bigger, deeper, wider, and more emotional. But it can also wreck a good track faster than most producers realise. A few bad stereo moves can weaken the low end, blur the mids, mess with mono compatibility, and make the whole thing feel impressive initially, then disappointing everywhere else.
STEREOVAULT is different, it helps you dial in the right width for the sound you are working on, then gives you a serious set of tools to shape stereo in a much more deliberate way, so your mix feels wider where it should, tighter where it needs to, and more polished overall.
In this guide, we are going to look at how to use STEREOVAULT through the full mixing process. You’ll learn how to make better stereo decisions from across all the channels in your production right through to the final mix balance.
Why stereo often goes wrong in a mix
A lot of producers leave stereo widening until the very end. The mix feels a bit flat, so they throw on a widener and hope it brings everything to life. Sometimes it sounds exciting at first, but quite often it pulls the focus out of the middle, softens the punch, and leaves parts of the mix feeling weird or disconnected.
The bigger issue is that stereo is actually quite hard to judge properly. You can hear that something changed, but that doesn't always mean it got better. And if the processed version is even slightly louder, it gets really easy to fool yourself.
That’s where STEREOVAULT helps. It gives you a sensible width starting point for the kind of material you are working on, and once you’ve analysed the audio, it level matches your adjustments too. Wider processing often sounds louder, and louder always sounds "better". Without level matching, you end up picking settings that feel impressive but are actually overdone. You boost the width, it gets louder, you think you've improved the track, but you haven't.
With level matching on, when the width sounds better, it is better. You're hearing the actual stereo change, not a volume jump. This single feature will save you from making bad decisions on every single track.

To begin, let STEREOVAULT get you a good starting point. Hit Analyze while your track plays (aim for the loudest section), choose your source type and genre, and STEREOVAULT suggests a smart preset tailored to that specific audio. You can also flick between Focused, Balanced, Wide, and Super Wide options to find your own starting point.
The labels are relative to context. A "Wide" vocal preset targets a very different result than a "Wide" drums preset. Both reflect what works for that material in that genre.
Use this on every stem you load STEREOVAULT onto. It takes a few seconds and gives you an informed starting point instead of guessing. From there, you have full control to adjust however you like.

Let’s look at some cool things you can do with STEREOVAULT (p.s. the video at the top of this page has all the audio examples)
Tighten The Sub Bass
Stereo energy below 100 Hz causes real problems. Phase cancellation kills your punch on smaller speakers, and low frequencies that are too wide can make the whole mix feel loose and unfocused.
Load STEREOVAULT on your bass bus. Use Transparent Mode here. The fixed crossover filters are cleaner than what most stereo tools offer, so you get a precise cut without any smearing into the mid range. Switch to the Clean tab (which is a transparent Side EQ) and create some fixed bands. Pull the slider of the lowest band down to reduce the side energy in that range. The low end tightens up, the kick and bass hit harder, and mono playback stays solid. You can also adjust the band slope, a higher dB per octave slope will make the reduction very focussed, a lower dB per octave will take a more gradual approach.

Add Width And Character To The Bass Mids
Your bass sounds tight on the bottom now, but the low-mids might feel a bit narrow and lifeless. This is where STEREOVAULT's Vintage mode does something special.
You want to focus on that mid-bass region and set it to Vintage on the Width tab. Vintage uses an Orban-style pseudo-stereo technique that splits frequency content between channels. It creates genuine width from narrow or mono material and collapses back to mono perfectly. No weird phase artifacts, no thinning.
The result is a bass that sits tight in the subs but has real presence and excitement through the mids. Vintage is warmer and more coloured than the other width modes, which is exactly what flat-sounding bass material needs. Even a subtle amount here can make a huge difference to how alive the bass feels.

Make Flat Synth Pads Feel Alive
A pad that just sits there filling space can make an entire mix feel static. Flux mode in the Creative tab was built for this. It uses modulated allpass filters to create a slow, drifting width that evolves over time. The stereo image moves in a smooth, organic way that makes the pad sound like it's breathing.
For pads that need more depth on top of that movement, stack Space on a separate band. Space adds a short Dattorro reverb tail that makes things feel three-dimensional without a long washy decay. You end up with atmosphere that has real movement and body, instead of a flat wall of sound.

Create Clean Width On A Vocal Group
You’ve got a vocal group that feels too narrow and stuck in the middle, but every time you try to widen it, it starts sounding smeared, phasey, or a bit fake. That is a common problem with stereo processing on vocals, especially when you still need the lead to feel focused and believable.
Put STEREOVAULT on the vocal bus and use Pristine mode to open up the upper mids and top end. Pristine gives you a cleaner, more controlled kind of width, so the vocals feel more open and expensive without weird artefacts creeping in. It is perfect when you want that polished stereo lift but still want the vocal to sound natural.
Keep the lower mids more restrained so the body and weight of the vocal stay centred. Then let the extra width happen higher up, where the presence, breath, and air live. That way the vocal group feels wider and more exciting, but the important part still stays solid in the mix.

Position Guitars Without Losing The Centre
Two rhythm guitars panned hard left and right is a classic move. But what about a single guitar that needs to sit slightly off-centre without pulling the whole mix sideways?
The Panorama tab gives you frequency-specific panning. Set the mode to Pan and create bands to target just the frequency range you want to move. You might pan the low-mids of a guitar slightly left while keeping its higher frequencies more centred, or use Skew to reposition the stereo information in a more creative way.
This is panning with surgical precision. Instead of one pan knob for the whole sound, you're placing different parts of the frequency spectrum exactly where they need to sit.

Push Background Vocals Wide Without Competing With The Lead
Background vocals need to feel wide and supportive without fighting the lead vocal for the centre. Use the Width tab to push the BV bus energy toward the sides. Width redistributes Mid and Side energy, so you're shifting the perceived position of the sound without using a panner.
For the frequency band covering the main body of the lead vocal, push the BVs further to the sides. On the top end, where the air and sparkle live, you can afford to let them spread more freely. The lead stays locked in the centre while the backgrounds wrap around it.

Clean Up Messy Reverb Returns
Reverb returns can build up a lot of messy stereo information, especially in the low mids. That is when the mix starts feeling cloudy and unfocused. You still want the reverb to sound wide and spacious, but not in a way that makes everything feel loose.
Put STEREOVAULT on the reverb bus and use Width on the lower bands to pull some of the side energy back toward the centre. That is a really musical way to tidy things up, because you are not just cutting the sides off (which you could do using the clean tab), you are redistributing the stereo energy so the reverb feels more controlled and connected to the mix.
Then on the higher bands, you can use something like Pristine or Diffuse to open the top end back up and keep that airy, spacious feel. So instead of a reverb that spreads everywhere and muddies the track, you get one that stays clean down low, open up top, and much easier to fit around the important elements.

Add Stereo Movement To A Static Synth Lead
A synth lead can sound great melodically but sit dead in the stereo field. Stretch mode in the Creative tab creates width through complementary comb filtering with a classic Roland-style chorus character. It's bold, shimmery, and gives the sound real presence.
For something less coloured, try Haas, which creates width using short time delays between channels for a vivid sense of direction and space. Use it on just the upper bands to add sparkle and movement to the top of the synth while leaving the fundamental centred and punchy.
Solo the band while you adjust, then unsolo to hear how it sits in the mix. The visualiser helps you confirm the width is sitting where you intended across the spectrum.

Use Rotate To Fix A Cluttered Upper-Mid Range
Let’s say you've got a busy mix. The vocal, guitars, keys, and snare are all stacked up in the 1-4 kHz range, and no amount of EQ or panning is clearing enough space. Everything is technically in the right place, but the upper-mids still feel crowded and two-dimensional.
The Rotate tab solves this in a way that EQ and panning can't. Unlike panning, which only changes level between left and right, Rotate changes where the energy sits within the stereo field. It tilts the image. And because you can choose to rotate just the Mid, Side channel independently, you can reposition specific elements without pulling the whole mix off-centre.
Try this: load STEREOVAULT on your rhythm guitar bus. Create a band covering the 1-5 kHz range and set Rotate to Side mode. Apply a small amount of rotation. The side information of the guitars in that range shifts position, opening up space in the centre for the vocal without changing any levels. The guitars don't sound quieter or thinner. They just moved out of the way.
You can do the same thing on a keys bus, rotating the upper-mid Side content in the opposite direction. Now the vocal, guitars, and keys each occupy a slightly different position in the stereo field through that critical frequency range. The mix breathes. You created separation without cutting any frequencies, without changing any fader levels, and without traditional panning.
Small amounts work best. You're not trying to spin the image around. You're tilting specific frequency ranges by a few degrees to carve out space that EQ alone couldn't find.

Spread Your Drum Overheads And Room Mics
Drum overheads and room recordings often have stereo information that feels either too narrow or awkwardly placed. Use STEREOVAULT to shape this with precision rather than just boosting the whole stereo image and hoping for the best.
Try Pristine on the Spread tab for the mid and high bands. Pristine adjusts the Mid/Side balance and injects side energy for a clean, direct width change. Open up the cymbals and room ambience without moving the snare or kick off-centre. Use the Clean tab on the low band to pull any messy sub information into the center.
The visualiser shows you the stereo spread across the full frequency spectrum as you work, so you can see where the width sits and confirm the low end stays centred.

Polish The Full Mix With Smart Presets
Once you've shaped the stereo on individual stems and buses, load one more instance of STEREOVAULT on your mix bus. Hit Analyze, set the source to Mix, choose your genre, and audition the smart presets.
Use Transparent Mode here. The fixed crossover filters are designed for this exact job: mastering-grade stereo adjustments that don't introduce artifacts or disturb the tonal balance. Using the clean tab for the full mix gives the cleanest results, you can also experiment with the width tab, the pristine mode can work really well.
You might find the smart preset suggests pulling the low end slightly narrower or opening up the top a touch. These are small moves, but on a full mix they make the difference between something that sounds like a demo and something that sounds finished.

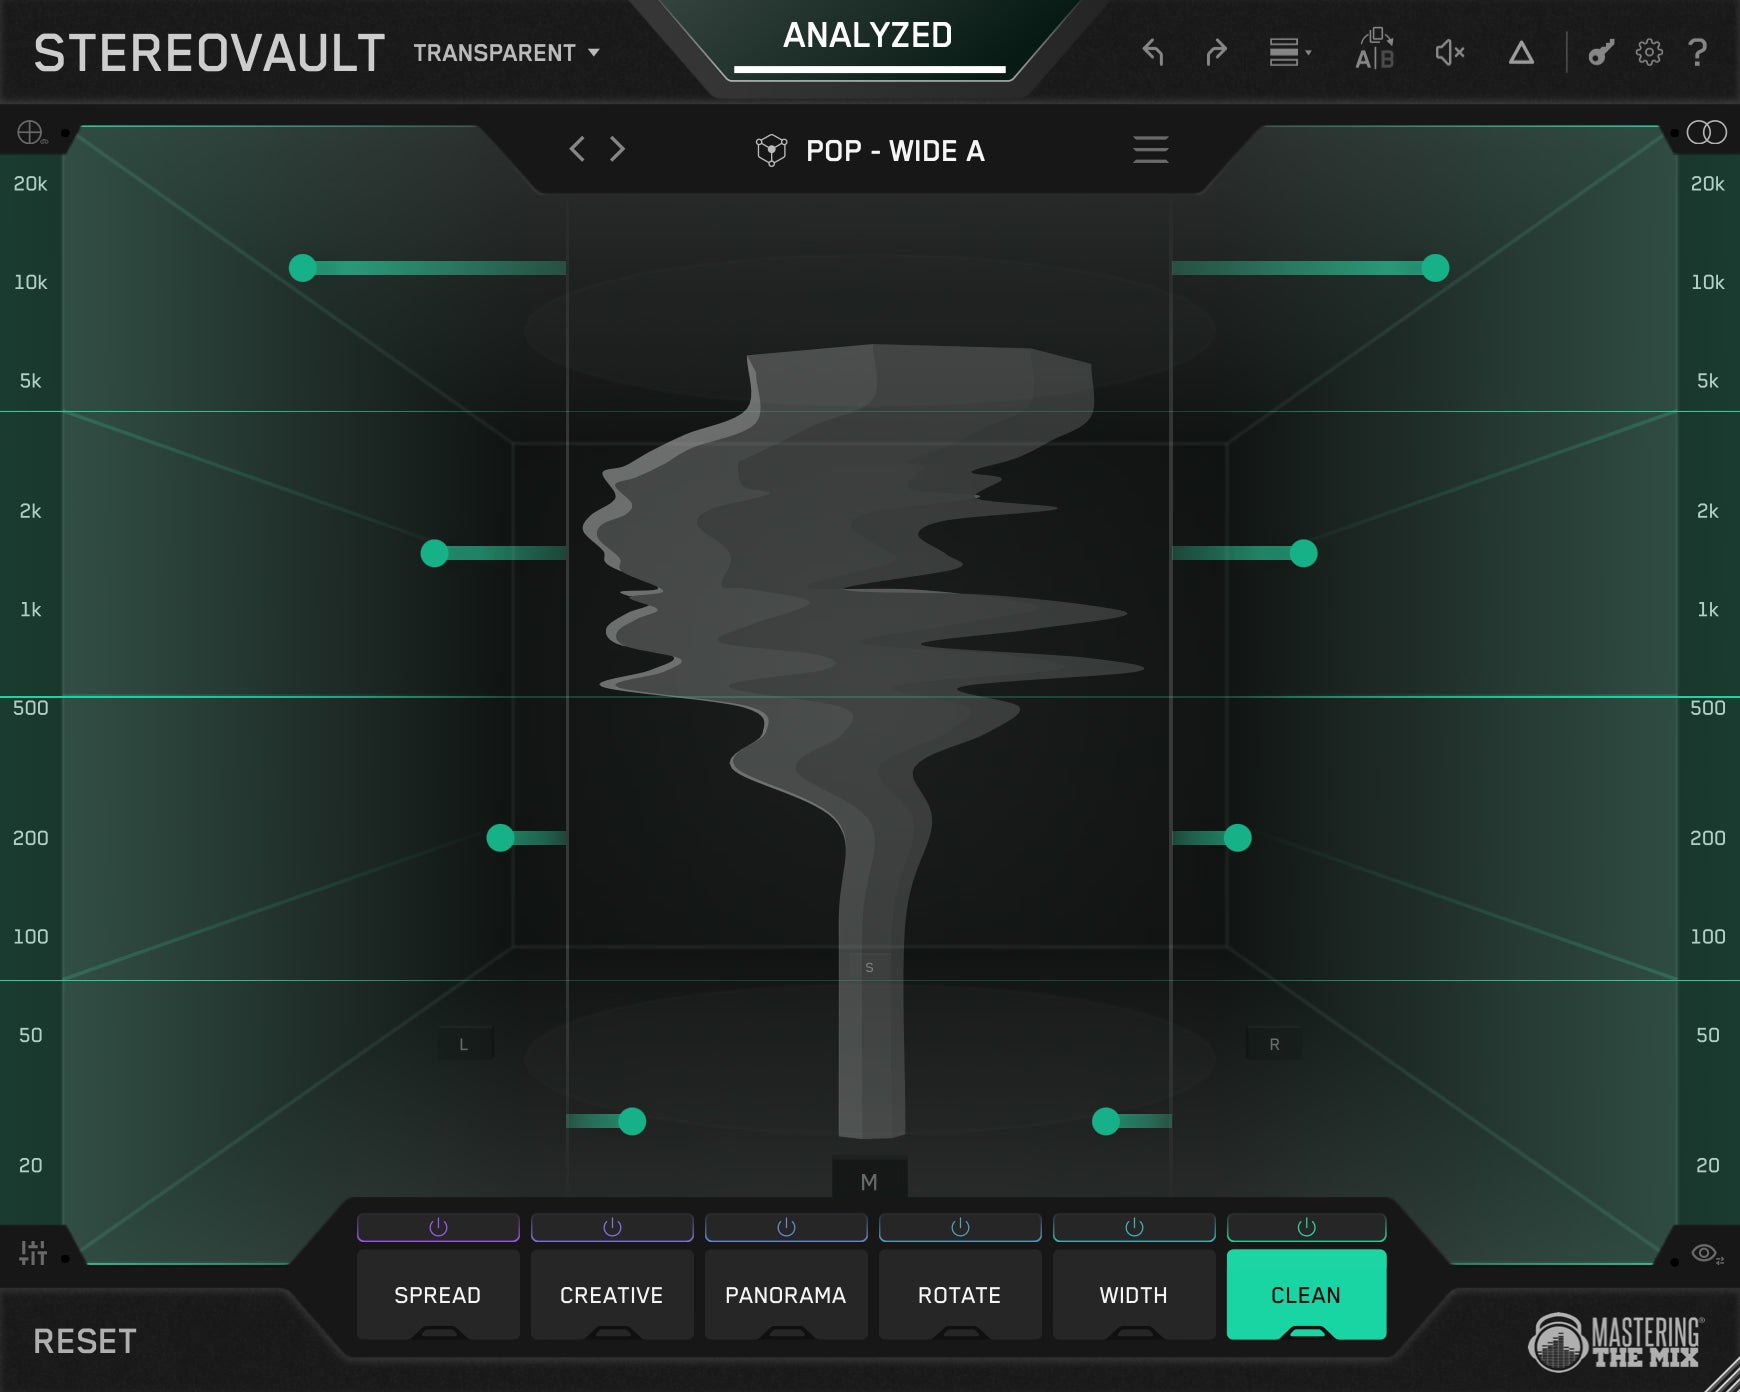
Use The Visualiser To Confirm Your Decisions
Stereo is hard to judge by ear alone, especially in an untreated room. STEREOVAULT's visualiser shows the stereo width of your audio across the full frequency spectrum in real time. Lows at the bottom, highs at the top, and the horizontal spread shows how wide things are at each point.
As you shape the stereo image across your mix, glance at the visualiser to confirm what you're hearing. If the low end is still too wide, you'll see it. If the top end is narrower than you thought, you'll see that too. You can also switch to 3D mode for a more immersive view showing Mid and Side energy distribution, and activate the stereo phase display to catch any phase issues before they become problems.

Wrapping Up
Stereo width affects how big, open, and professional a mix sounds. It affects how your track translates on earbuds, laptop speakers, and club systems. It affects how your music sits next to commercial releases. And yet most producers either ignore it or treat it as a one-knob afterthought.
STEREOVAULT gives you the tools to shape stereo with the same detail and precision you already bring to EQ and compression. Six processing tabs. Up to six frequency bands per tab. A bunch of width algorithms, creative spatial effects, frequency-specific panning, Mid/Side balance, rotation, and a transparent Side EQ. Smart presets that analyse your audio and give you an informed starting point. Level matching that keeps your decisions honest. A real-time visualiser that shows you what your stereo image is actually doing.
Load it on your stems, your buses, and your mix bus. Be as deliberate with stereo as you are with everything else. Your mixes will sound wider, cleaner, and more finished because of it.


