


You bounce a master. It's loud. It hits hard for the first three seconds. Then somewhere around the chorus you notice the drums aren't punching anymore. The cymbals lost their air. The vocal feels distant. The whole track has gone quiet-loud, the energy just isn't there and your listeners are gonna switch to a different track.
Same Mix. With And Without FASTER MASTER.
A David Guetta and Nicky Romero track run through FASTER MASTER's full chain. Toggle Without and With while it plays, and listen for the extra punch, density, and openness without the master feeling squashed.
A squashed master usually comes from one main habit: trying to get all the loudness at the end of the chain. The limiter gets blamed because it's the final thing you see working, but the real issue is often that the whole mix and mastering chain is being pushed in a static, heavy-handed way. The number on the meter says loud. The music doesn't feel like it.
This post is going to help you fix that. Use FASTER MASTER to build loudness across the chain rather than hammer it on at the end, and start with a mix that already has movement. The result is a competitive level that still feels exciting, with the transients and dynamics of the music intact.

1What "Squashed" Actually Sounds Like
"Squashed" isn't one specific failure. It's usually a cluster of things that show up together when the chain has been pushed too hard.
- Drum transients flatten. The kick stops "thumping" and starts "thudding". The snare loses its crack.
- Top end loses air. Cymbals, hat textures, vocal breath, anything above 8 kHz feels rolled-off and cardboardy.
- Dynamics disappear. The chorus is the same loudness as the verse. The drop hits the same as the build.
- The whole track feels narrow and forward, like it's playing from inside a tunnel rather than from the speakers.
All four point to the same problem: the chain is being asked to do too much, and the limiter is having to compensate. Once it's clamping more than 4 or 5 dB of gain reduction on the loudest sections, transients start smearing and the music loses its life. The fix isn't a different limiter. It's giving the chain less work to do at the end. If the mix already has good contrast and the chain is pulling the loudness up gradually, the limiter only has to handle the last 1 or 2 dB. That's the difference between a master that's loud and dead and a master that's loud and breathing.
2Let's Get The Limiter Right
A limiter is mainly there to control peaks and stop the master crossing the ceiling. That's its main job. But when you push too much level into it, it stops catching the odd stray transient and starts reshaping the feel of the whole track. Drum hits get shorter. Snare cracks get rounder. Vocal consonants soften. Each dB you push past comfortable adds more compression to the signal and starts removing the part of the music that hits.
Past a certain point, more limiting won't actually make the master feel louder. It'll just smooth everything out until the music feels small. That's the trade-off, and it's why pushing the limiter harder isn't the path to a competitive level on most genres.
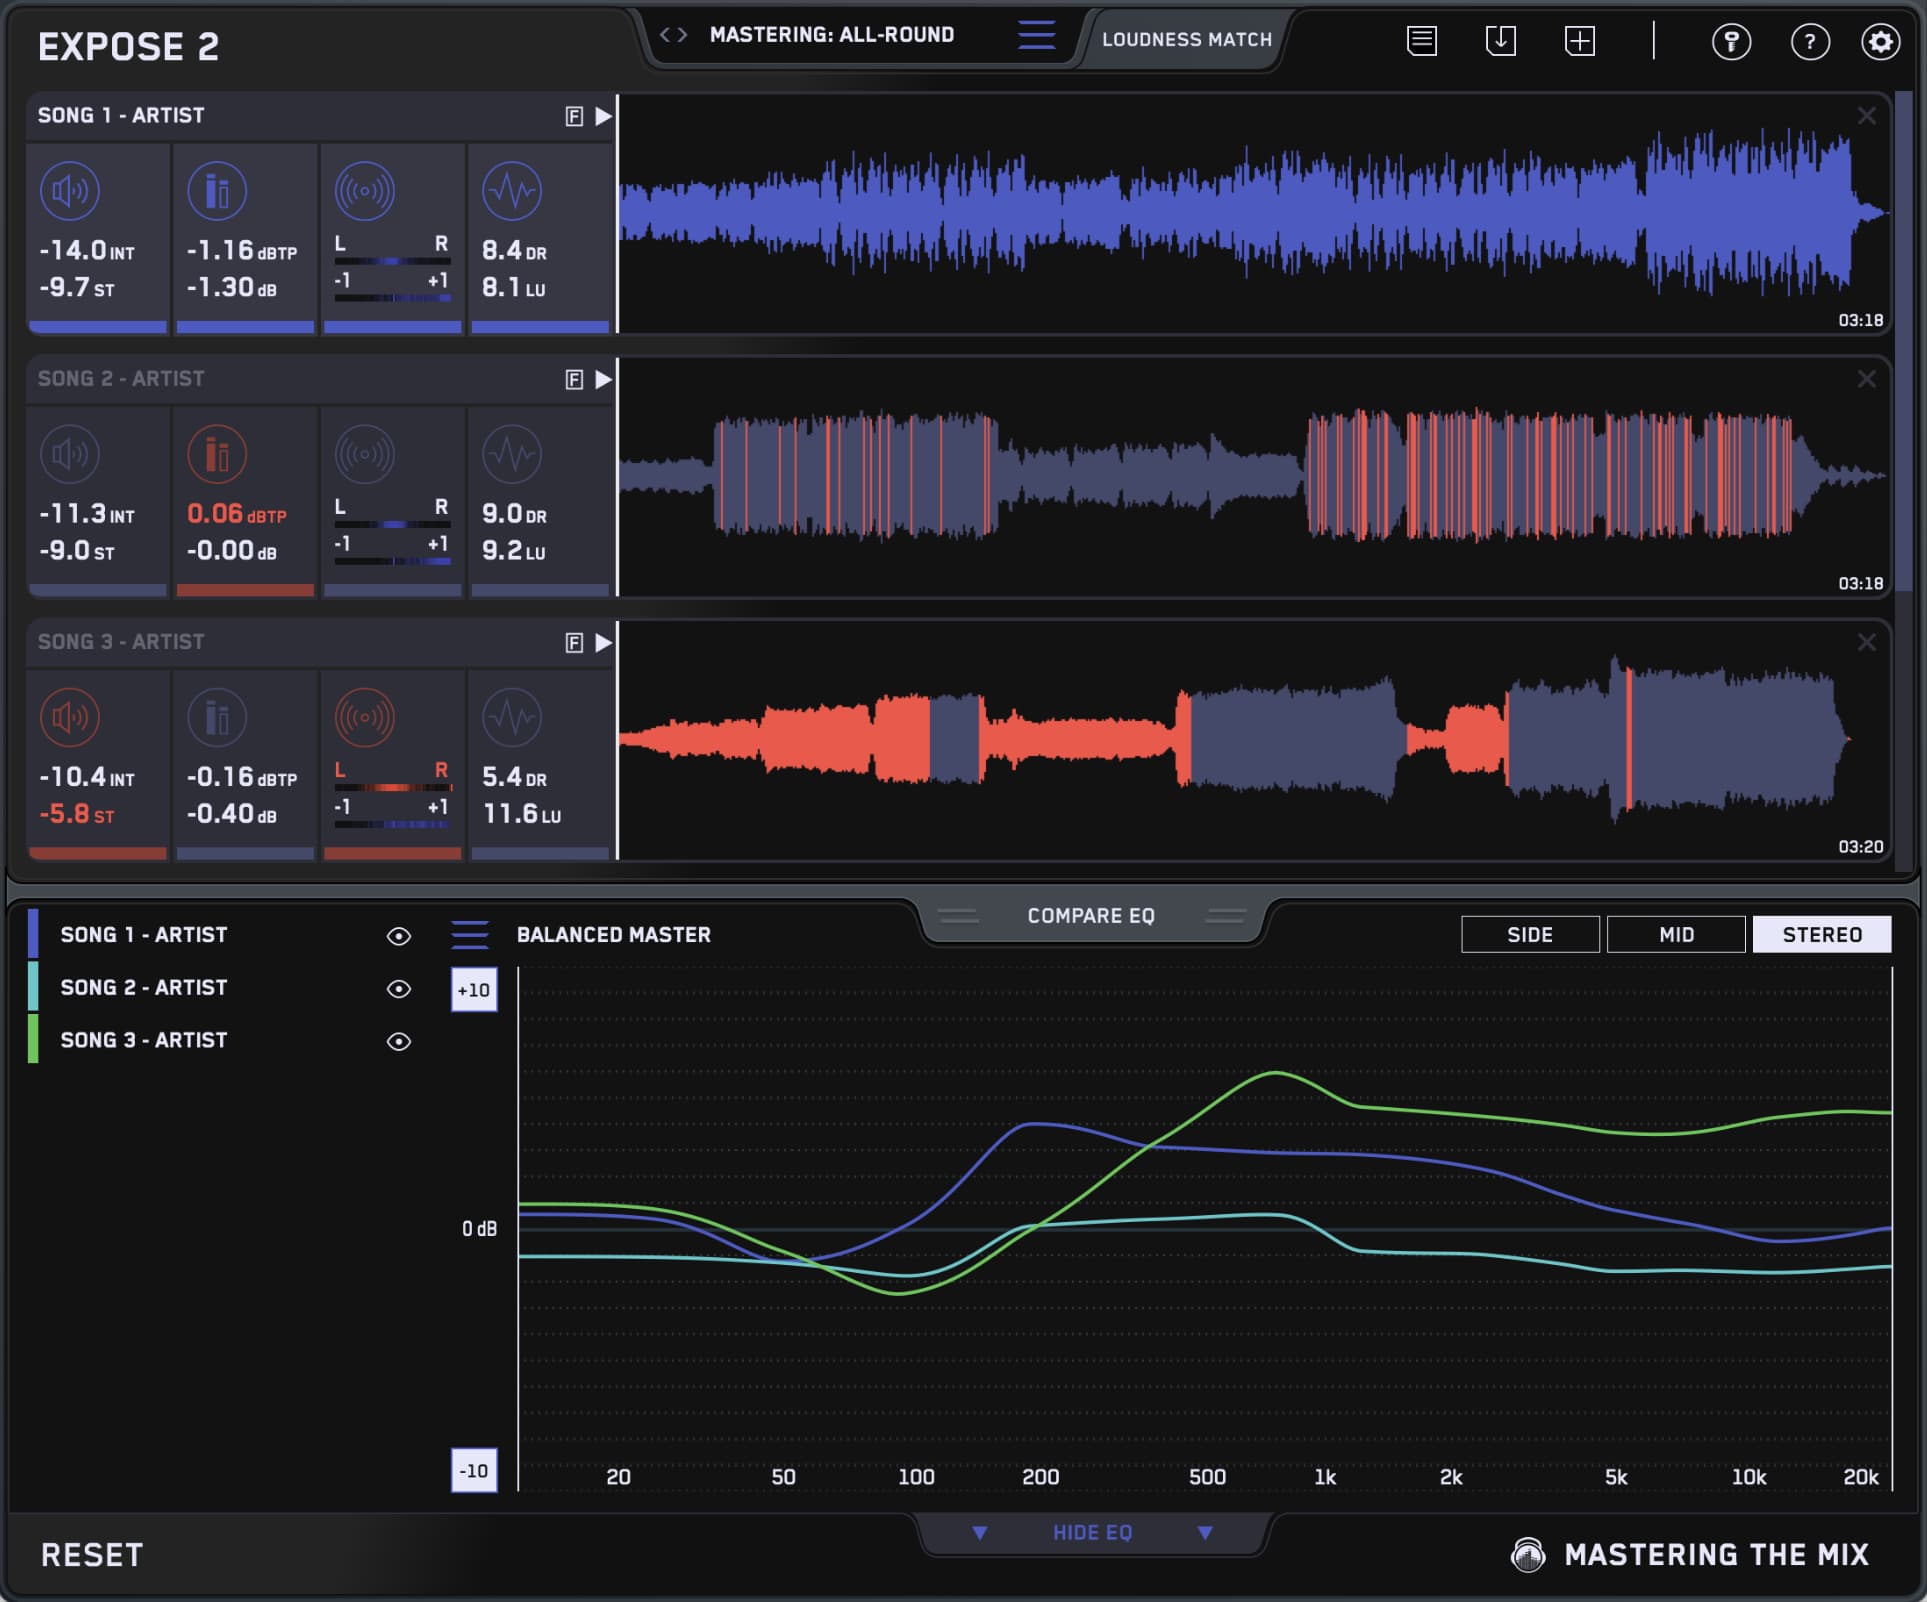
If you want to see what a great loud master looks like, drop a commercial reference into REFERENCE 3 and compare the dynamics, loudness, tonal balance, stereo width, and the over-compression indicators against your own master. You won't see exactly what the limiter was doing on the pro track, but you can see the result of those decisions: how much dynamic range the genre actually keeps, where the tonal balance sits. That's the target you're aiming for, and it tells you how much room you have to push before the music starts breaking down.
The mental shift is this: the limiter is a doorman, not the party. If the chain in front of it isn't loud and exciting, the limiter can't fix that. It can only stop the loudest peaks from crossing the line.

Major Lazer, Deadmau5, Marshmello, Calvin Harris, Chainsmokers
"This plugin is mega. I will have this on my master for every project going forward. I am always a little apprehensive about plugins like this, but this has genuinely blown my mind."
Try FASTER MASTER free →3Gain Automation Is What Gives The Master Room To Move
A master can only preserve and enhance what's already in the mix. If the verse, build, chorus, and drop all hit the master bus at roughly the same intensity, the limiter has no musical contrast to work with. It just sees a constant, dense signal and shaves everything down equally. The track ends up loud, but the song stops moving.
Gain automation inside the mix is where the energy of a song actually lives. Before mastering, look at how the arrangement is hitting the master bus from section to section. The job is to give the master something interesting to lift, rather than a flat block to shave.
A few moves that build movement back into a flat mix:
- Pull individual channels back during the verse so the drums and vocal can step forward in the chorus.
- Drop a few elements 0.5 to 1 dB through the build so the drop has somewhere to go.
- Lift the lead vocal a touch in the hook, or the synth in the drop, so the focal point of each section is clear.
- Use small, considered moves rather than big obvious fader rides. The listener shouldn't notice the automation, they should just feel the sections breathe.
Once the mix has that contrast built in, FASTER MASTER's chain has something to enhance. It's doing what mastering is supposed to do: lifting the whole record into a polished, competitive level while preserving the movement you put there. It can't manufacture dynamics from a flat signal, but it can make existing dynamics feel bigger.

4The Transients Module Is Where Punch Comes From
FASTER MASTER's chain runs in this order: EQ, Transients, Compression, Stereo, Limit. The Transients module sits in the middle, before compression and limiting. That position matters. Whatever you do to the transients gets compressed and limited after, which means the limiter sees a signal that's already been shaped for impact.
A small upward adjustment on the Transients module can help drums and percussive elements feel more defined. Snare cracks come forward, kick attacks tighten up, the rhythmic skeleton of the track sits more clearly under everything else.

The reason this works is that FASTER MASTER's Transients module is level-matched. When you drag it up, the perceived loudness stays constant, so you're hearing the actual punch increase rather than just a louder signal. Most transient designers cheat by raising overall level when you push transients, which tricks the ear into thinking something improved. FASTER MASTER doesn't. The number on the meter stays the same, and the music feels different.
Most producers go straight from EQ to limiter and wonder why their master sounds flat. The Transients module is the answer they didn't know they were missing.
Shape transients before you set your final loudness target, not after. Once compression and limiting are doing their work, recovering punch is much harder. A small upward adjustment on the Transients module before the rest of the chain kicks in helps drums and percussion stay defined when the master gets loud. The goal isn't always a higher LUFS reading. The goal is a master that still hits when it gets loud.
5Drive Adds Density Before The Limiter
FASTER MASTER's Limit module has a Drive slider next to the loudness target. Drive adds harmonic density, the same character analog gear used to give recordings before brickwall limiters existed. Saturation generates harmonics above the fundamental, which the ear tends to perceive as more weight, presence, and energy.

A small amount of Drive can make a master feel louder, fuller, and more energetic before you ask the limiter to work harder. It's a tone trade-off rather than a free dB. The track gains a bit of harmonic warmth, the limiter has slightly less to do, and the perceived energy goes up. The effect is subtle when used right and obvious when overdone.
Drive isn't a magic loudness control. Push it too far and the harmonic content turns into distortion that sits awkwardly on a finished master. Used subtly, it gives the chain a touch more density to work with so the limiter doesn't have to do as much heavy lifting at the end. Listen for the point where the master goes from feeling fuller and more energetic to feeling distorted, and stay below it. The post on the ultimate guide to mastering with FASTER MASTER walks through the rest of the modules in detail.

6Pick The Right Loudness Target, Not The Loudest One
FASTER MASTER's loudness nodes split into two ranges: Streaming (-10, -9, -8 LUFS) and Loud (-7, -6, -5 LUFS). The temptation is always to pick the loudest one and let the chain figure it out. That's where a lot of squashed masters come from.
Streaming normalisation means there's no need to chase the loudest number on the slider just because it's available. Spotify and YouTube turn most loud masters down to around -14 LUFS anyway. If your master is over-limited, that turn-down can leave it sounding smaller and flatter than a slightly quieter master with more punch. But that doesn't mean louder is always wrong. In dance, pop, hip-hop, bass music, EDM, and club-focused releases, a louder master often suits the music. The question is whether the track still feels exciting after the chain has done its work, not which number you hit.

The Loud band makes sense when the music is going somewhere normalisation doesn't apply, or when the genre lives at that level: club PA systems, festival sound, CD masters, dance and bass-heavy productions where the listener expects the wall of sound. For more dynamic productions or for streaming-first releases, the Streaming band is usually a better starting point. Either way, listen at platform levels and decide whether the master still feels exciting after the loudness has settled.
One more setting worth understanding here: FASTER MASTER's Limit module has a True Peak toggle. True-peak limiting can be useful when the master needs safer codec translation or when delivery specs require strict true-peak control. Leaving it off can sometimes feel a touch more open or punchy, especially on louder masters, but the exported file should be checked carefully after bouncing. There isn't one right answer. The choice depends on where the master is going. The post on the pre-release checklist covers how to verify the export still translates after the codec.
Smart preset matched to the track. Gain automation in the mix so the song has real movement before mastering. Transients shaped before compression and limiting. A touch of Drive for density if the track benefits from it. A loudness target that fits the genre and destination. True Peak and ceiling settings chosen based on where the master is going, then checked after export.
Loud Doesn't Have To Mean Squashed
Loudness shouldn't come from the limiter alone. It's the result of the whole chain: the contrast you built into the mix with gain automation, the transient shaping that defines the rhythmic feel, the harmonic density a touch of Drive provides, the EQ and compression that get the tonal balance right. FASTER MASTER handles the mastering side of that in the right order, with level-matched modules so you hear the actual change rather than a volume bump.
Start with a mix that already has movement. Pick a smart preset that fits the track. Shape transients before the rest of the chain takes over. Add a small amount of Drive for density rather than asking the limiter for another dB. Pick a loudness target based on where the music is going, and listen for whether the master still feels exciting once everything has settled. That's how you get a master that's loud and still feels alive.
Frequently Asked Questions
What makes a master sound squashed?
A squashed master usually comes from trying to get all the loudness at the end of the chain. Drum transients flatten, the top end loses air, the chorus is no louder than the verse, and the track feels narrow. Once the limiter clamps more than 4 to 5 dB, transients smear.
Why is gain automation important before mastering?
A master can only enhance what is already in the mix. If verse, build, chorus, and drop all hit the master bus at the same intensity, the limiter sees a flat block and shaves everything equally. Automating sections so the song breathes gives the chain real dynamics to lift.
Why does the Transients module sit before compression in FASTER MASTER?
The chain runs EQ, Transients, Compression, Stereo, Limit. Shaping transients before compression and limiting means the limiter sees a signal already shaped for impact. The module is level-matched, so pushing it increases real punch rather than just raising the volume.
Should you always pick the loudest loudness target?
No. Streaming platforms normalise loud masters down to around -14 LUFS, so an over-limited master can end up smaller than a punchier, quieter one. The Loud band suits club, festival, CD, and bass-heavy genres. The question is whether the master still feels exciting after the chain settles.