


On 13 August 2026, Suno pushed out Studio 2.0. MIDI, a piano roll, automation, a much better stem splitter, and unlimited 32-bit multitrack and stem exports on the Premier tier. Whatever you think of AI music, one practical thing just changed: a lot of producers are about to drag AI stems into a real DAW for the first time.
And they're going to find out very quickly that those stems don't behave like normal stems.
This isn't a post about whether you should use AI. That's your call. This is a post about what actually arrives on your timeline when you do, why it fights you, and what to fix first.

1What Actually Changed On 13 August
Worth being precise here, because a lot of the coverage has been vague.
Suno Studio 2.0 is a browser-based DAW. The 2.0 update added MIDI recording and editing with a proper piano roll, musical typing and Web MIDI controller support, a wavetable synth, parameter automation, an in-DAW chat bar that can build effects on request, and an upgraded stem separation tool. Premier subscribers can export 32-bit WAV or MP3, including multitracks and individual stem WAVs, without export limits.
One detail almost nobody has led with is the one that matters most to you:
That's straight from Suno's own documentation. The built-in effects are a compressor, convolution, delay, distortion, EQ, gate and reverb. Useful for sketching. But if you want your compressors, your EQs, your metering, your chain, the audio has to leave the browser.
Which means the interesting part of this launch, for anyone who actually mixes, isn't the chat bar. It's the export button.
A generation tool just got a lot better at handing you separated, aligned, high bit-depth stems. It did not get better at finishing records. That part is still your job, in your DAW, with your tools.
2Why AI Stems Aren't Like Normal Stems
When a mix engineer sends you stems, those stems came from isolated recordings. The kick track contains a kick. The vocal track contains a vocal. Whatever's on there was put there on purpose.
Stems that come out of a separation process are different. They were never separate. A model pulled them out of a finished stereo file, guessing which bits of the spectrum belong to which instrument. That guess is much better than it was three years ago. It is still a guess.
So you get four problems that ordinary stems don't have.
- Bleed. Snare in the vocal stem. Vocal reverb tail in the "other" stem. Hi-hat ghosts under the bass.
- Smearing on transients. Drum hits lose a bit of their front edge, because a sharp transient spreads across the whole spectrum and the model has to decide where it goes.
- Watery high end. Cymbals, breath, air and reverb tails are the hardest things to separate cleanly. That's usually where the artefacts live.
- No headroom. The source was already balanced, compressed and often limited before it was split. That processing is baked into every stem you get back.
That last one catches people out more than any of the others, so let's start there.
3Fix The Gain Staging Before You Touch Anything Else
32-bit float export is genuinely helpful. It means the file itself won't clip, and you've got enormous room to pull levels down without losing resolution.
What it doesn't do is undo processing that already happened. If the source was squashed before separation, every stem carries that squash. Sum four already-limited stems back together at unity and you get something loud, flat and strangely lifeless, and no amount of clever mixing after that will give you back the dynamics.
So before you reach for a single plugin:
- Import the stems and check they're actually time-aligned. Suno exports them aligned, but verify rather than assume.
- Pull every stem down until your mix bus is peaking somewhere sensible. Around -6dB is a fine place to start.
- Listen to the sum, flat, with nothing on it. This is your real starting point, and it's usually worse than the original file. That's normal.
- Rebuild the balance from scratch. Don't try to recreate what the source sounded like. You're making a different record now.
- Only then start processing.

If the stems sound noticeably worse summed than the original stereo file did, that's not you doing something wrong. Separation is lossy. Judge the stems on what they let you change, not on how close they get you back to where you started.
4Bleed Is The Real Problem, Not Artefacts
Most people hear the watery high end first and go hunting for it with an EQ. That's the wrong order.
Artefacts are usually quiet and usually sit in places a normal mix move will cover anyway. Bleed is the thing that quietly ruins the mix, because it means two stems now contain the same sound at slightly different levels and phases. Turn the vocal up and the snare comes with it. Compress the drums and the vocal breathes.
A few things that help:
- High-pass aggressively. Most separated stems have low-frequency mush that belongs to something else. If the stem isn't the bass or the kick, it probably doesn't need anything under 100Hz.
- Check phase between stems. If two stems contain the same event, they can partially cancel when summed. Flip polarity on one and see if the low end gets bigger or smaller. If it changes a lot, you've found a problem worth solving.
- Handle the clashes dynamically rather than statically. A static EQ cut has to be deep enough for the worst moment, which means it's too deep for every other moment. Something like FUSER only ducks the clashing frequencies when they actually clash, which suits bleed well, because bleed comes and goes with the performance.

And be realistic about what's fixable. If the vocal stem has a snare in it, you can reduce it. You can't remove it. Sometimes the answer is to replace that element entirely rather than spend an hour rescuing it.
5Don't Chase Artefacts With A Wide EQ
Separation artefacts tend to be narrow and specific. Resonant pings around the same few frequencies, a metallic edge on the top of a cymbal, a ringing quality on sustained notes.
The instinct is to reach for a broad high shelf and pull the whole top end down. It works, in the sense that you can no longer hear the artefact. It also takes the life out of everything else.
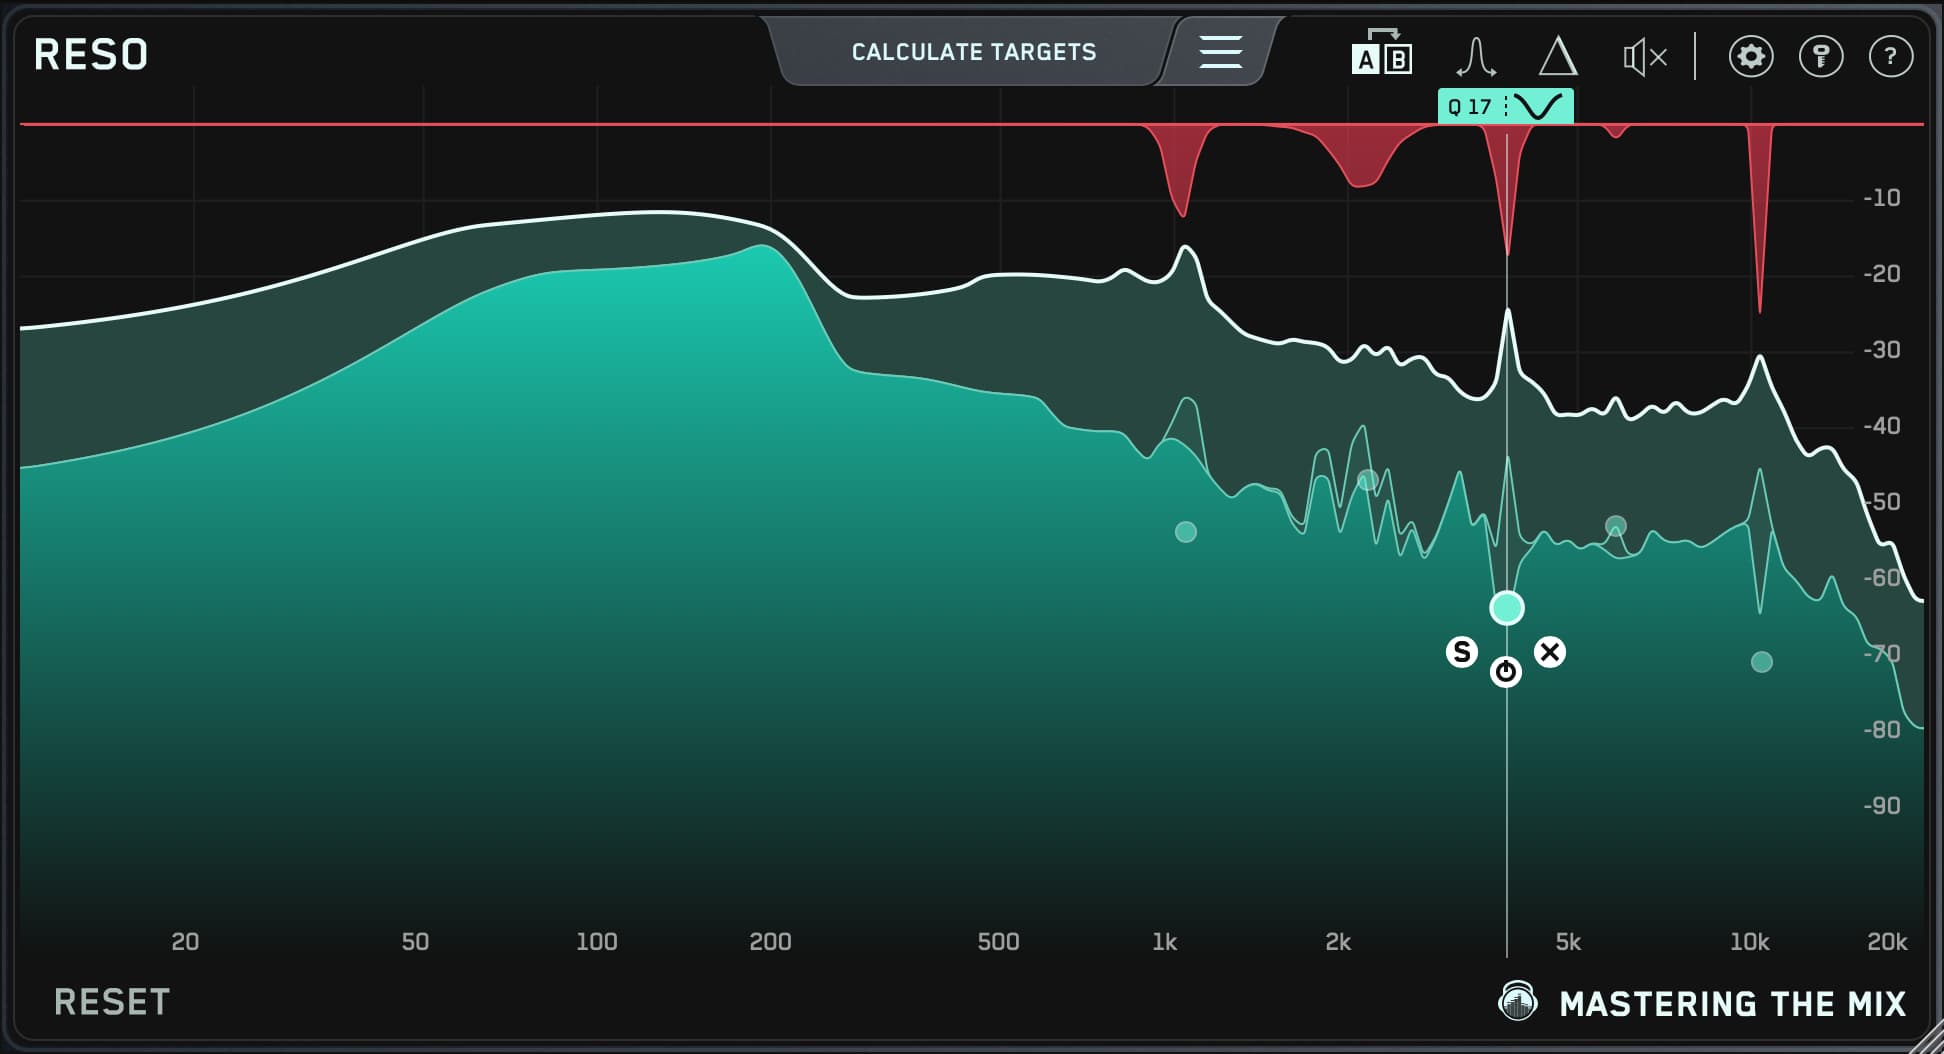
Narrow and surgical beats wide and blunt here. Find the specific frequency that's ringing, take out just that, and leave the rest of the band alone. RESO is built for exactly this kind of hunting, though a well-driven parametric EQ with a tight Q will get you a long way too. The tool matters less than the discipline of being specific.
Before you spend twenty minutes on an artefact, do this: play the stem in the full mix, at mix volume, and see whether you can still hear it.
Half the time you can't. Soloed, it's obvious and infuriating. In context, it's buried under three other elements and nobody will ever notice. Fix the ones that survive the mix. Ignore the rest.
6The Step Everyone Skips: Give Yourself Something To Aim At
The hardest part of mixing AI stems isn't technical at all.
When you mix your own recording, you know what it's meant to sound like. You were there. You know the vocal was warmer in the room, that the guitar was brighter, that the drums hit harder. That memory is a reference point, and you use it constantly without noticing.
With AI stems you have none of that. You've got audio with no history, no intent, and no version of "correct" in your head. So people drift. They mix for two hours, everything sounds fine, and then they play it next to a real record and the whole thing falls apart. Too bright, not enough low mids, no depth, weirdly narrow.
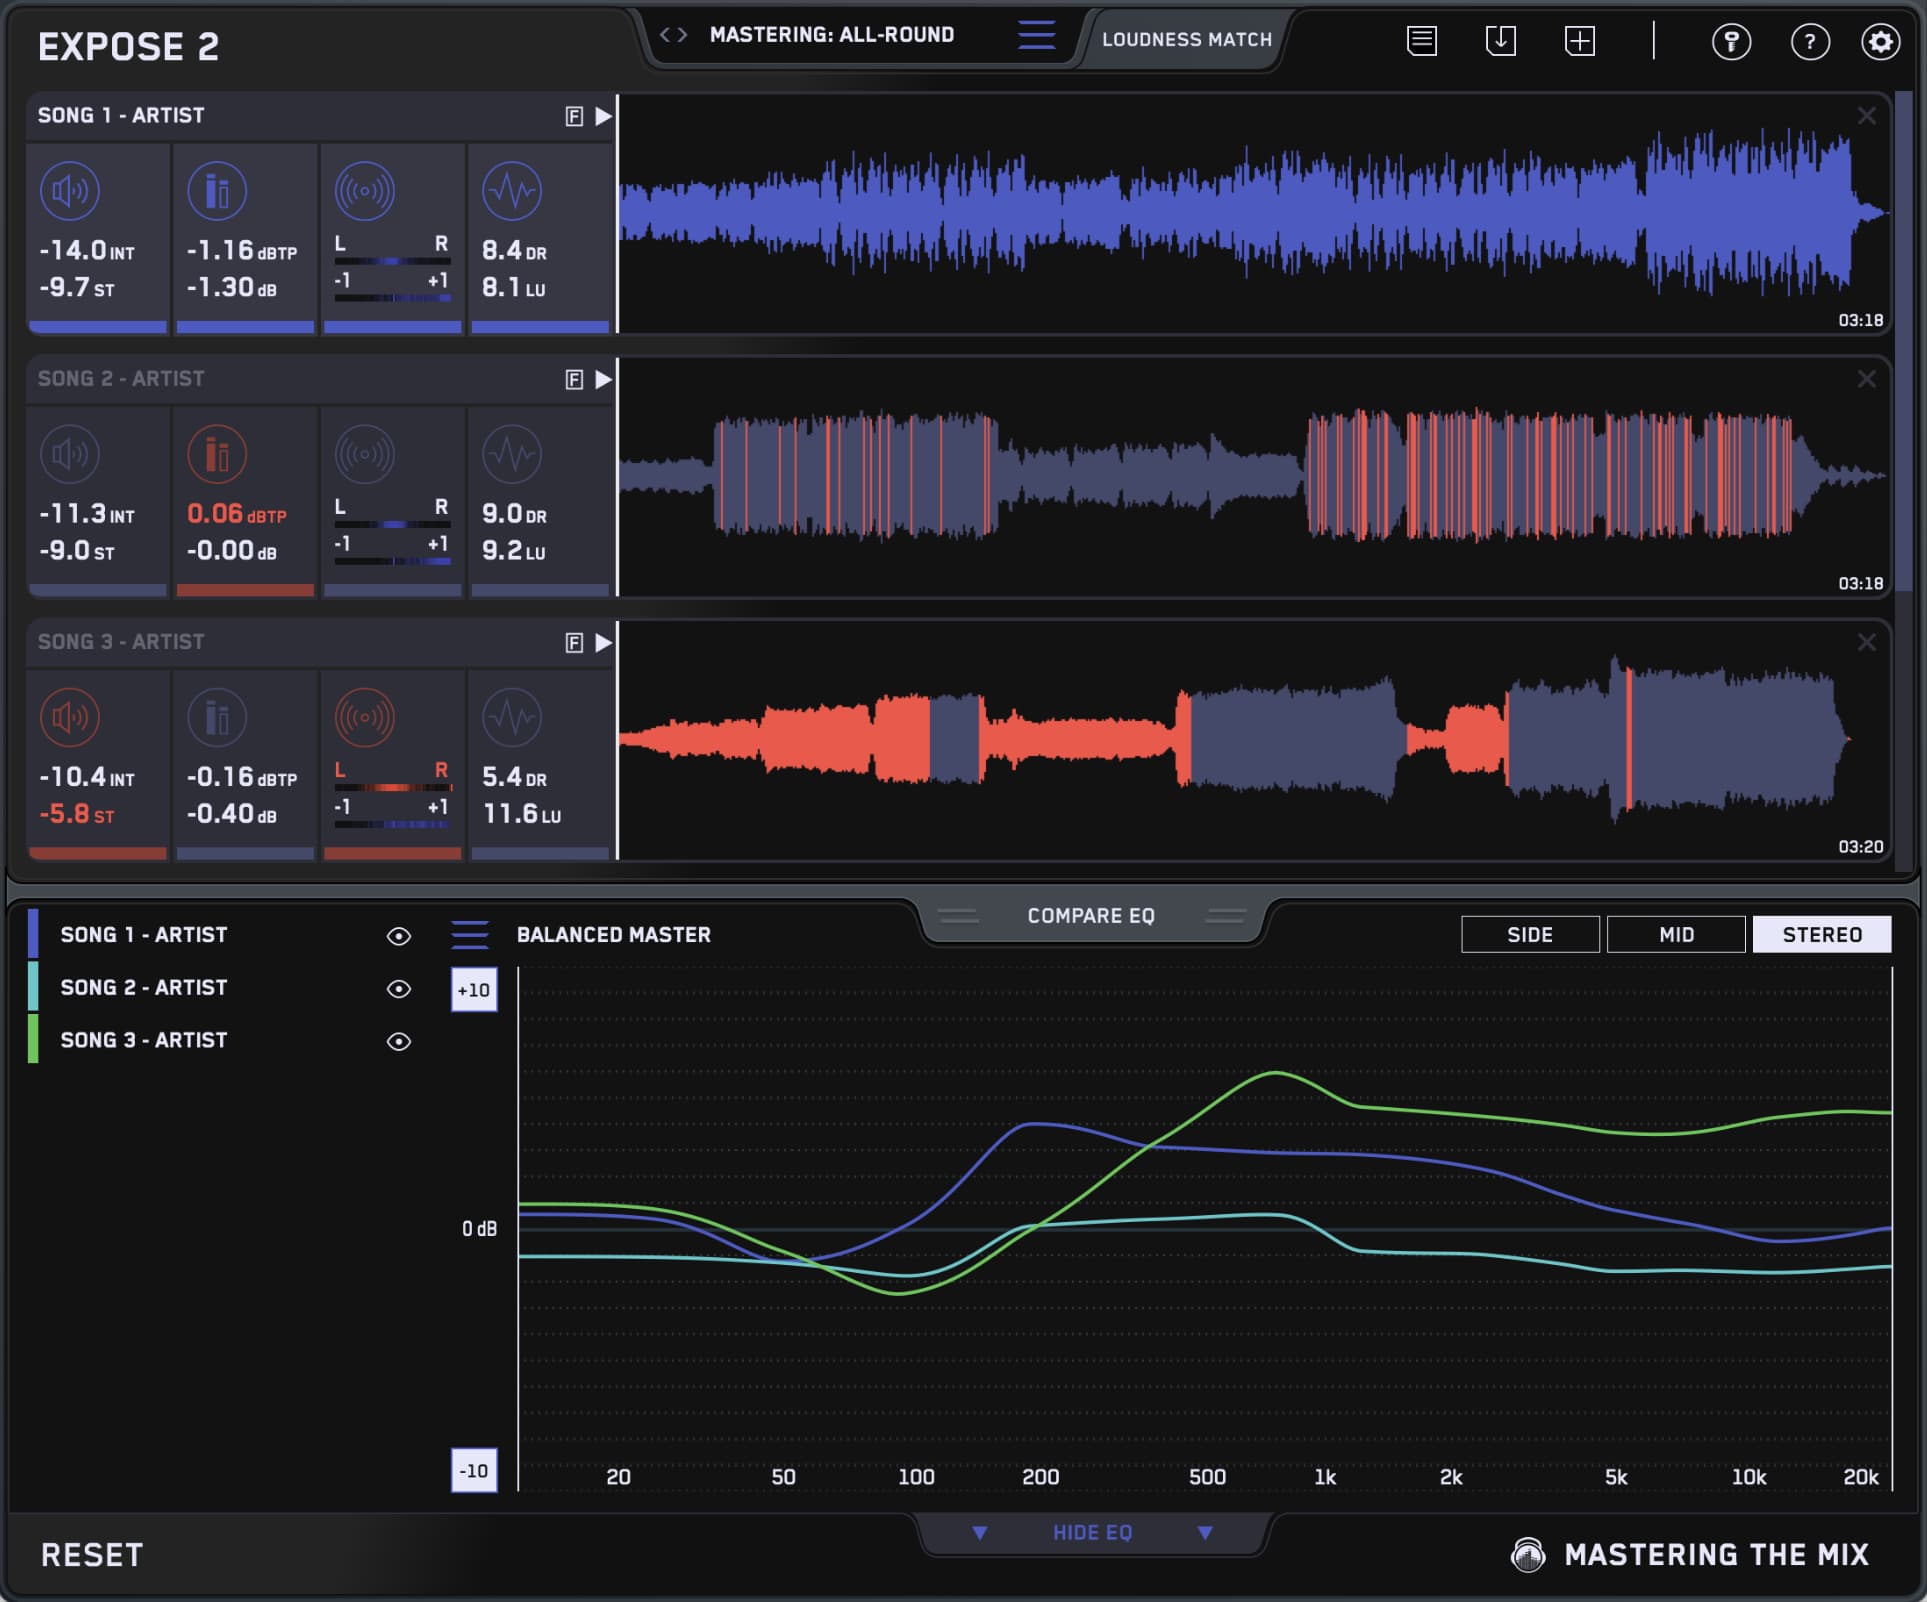
This is where REFERENCE 3 earns its place in this particular workflow more than almost any other. Load two or three commercial tracks in the genre you're aiming for, put REFERENCE 3 on the master bus, and use the level-matched A/B so loudness isn't skewing your judgement. Then check the things you can't hold in your head.

Tonal Balance
Separated stems often lose low-mid weight, because that's the most crowded part of the spectrum and the hardest to split cleanly.
Look for:- A hollow 200Hz to 500Hz region
- Too much energy above 8kHz
- Sub that doesn't match the reference
Width And Phase
Stems pulled from a stereo file can end up with unstable stereo information, especially in reverb tails and anything that was already wide.
Look for:- A mix that's wider than the reference but feels weaker
- Low end that isn't centred
- Phase behaviour that shifts as the track plays
The Master Scope and phase analysis are particularly useful on this kind of material, because separation problems show up visually before most people hear them. Overcompression detection is worth watching too, given how likely it is that the source was already limited before it was split.
Two honest caveats. First, none of this makes the decisions for you. It tells you where you differ from a record you've decided you like, and then you choose what to do about it. Some of those differences will be the point of your track. Second, trust your ears over any meter, including ours. The comparison is there to stop you drifting, not to give you a target score to chase.

Pick your references before you start mixing, not after you get stuck. Choosing a reference when the mix is already 80% done means you'll pick one that flatters what you've already made.
7What Spotify's New AI Label Does And Doesn't Mean
Since this is going to come up: on 11 August, Spotify announced an "AI Persona" badge that starts rolling out mid-September. Worth understanding what it actually covers, because a lot of people have got this wrong already.
The badge marks artist identities that may be AI-generated and don't represent a real person. It shows on artist profiles, in search results, and on track rows in playlists. Profiles that get it are excluded from Spotify's editorial and algorithmic recommendations by default, unless a listener already follows them. Artists can self-disclose through Spotify for Artists, or Spotify's review team can flag them, and flagged artists can appeal.
What it explicitly does not cover is process. Spotify has been clear that this is about whether the artist is a real person, not about which tools were used to make the music. There are separate systems for that: AI Credits for disclosing AI use in the creative process, and SongDNA for contributor context.
If you're a real person who used an AI tool somewhere in your process and then mixed and finished the track yourself, this badge isn't aimed at you. It's aimed at fake artists with fake faces. Disclose what you used through the proper channels and get on with it.
Two things happened in the same week. Generation tools got better at handing you raw material, and the biggest streaming platform drew a line around who counts as an artist. Read those together and the message is fairly blunt: nobody is going to reward you for pressing generate. The part that still counts is what you do with the audio afterwards, and whether there's a person behind it.
8The Whole Workflow, In Order
If you just want the checklist:
- Export stems at the highest quality available rather than bouncing the stereo file.
- Import, confirm alignment, and pull everything down to leave real headroom on the mix bus.
- Listen flat, with no processing, and accept that this is your actual starting point.
- High-pass anything that isn't the low end. Most of that content is bleed.
- Check phase between stems that share material, and fix cancellation before you EQ anything.
- Handle recurring clashes dynamically rather than with permanent static cuts.
- Deal with artefacts narrowly and only when they survive being played in the full mix.
- Load two or three references and A/B level-matched, early and often.
- Rebuild the low mids, which is almost always where separated material comes up short.
- Check mono, check on a phone, check on earbuds. Separation problems hide on good speakers.

The Tools Changed. The Job Didn't.
Studio 2.0 is a real step forward for getting usable material out of a generation tool. Unlimited high bit-depth stem exports is a meaningful change, and the fact that it can't host your plugins tells you exactly where the handoff happens.
Everything after that handoff is the same work it's always been. Gain staging. Phase. Balance. Deciding what the track is supposed to feel like and getting it there. AI stems just make that work harder, because they arrive with problems baked in and no memory of what they were meant to be.
Which makes referencing more important on this material, not less.
If you're going to experiment with this over the next few weeks, do yourself one favour: pick your reference tracks first. Then mix. Then check. Don't take my word for it, run your own AI stems next to a record you love and see how far apart they actually are.
Try REFERENCE 3 →Frequently Asked Questions
Do AI stems need to be mixed differently to normal stems?
Yes. Normal stems come from isolated recordings, so each track only contains what was put there on purpose. AI stems are pulled out of a finished stereo file by a separation model, so they carry bleed from other instruments, smeared transients, artefacts in the high end, and processing that was already applied before the split.
Why do AI stems have no headroom?
The source file was usually balanced, compressed and often limited before it was separated. That processing is baked into every stem you get back. A 32-bit float export stops the file itself clipping, but it cannot undo processing that already happened, so pull every stem down and rebuild the balance from scratch before adding anything.
What causes bleed in AI separated stems and how do you fix it?
Bleed happens because the model has to guess which parts of the spectrum belong to which instrument, so the same sound ends up in more than one stem at different levels and phases. High-pass anything that is not the bass or kick, check phase between stems that share material, and handle recurring clashes dynamically rather than with deep static EQ cuts.
Does Spotify's AI Persona badge apply if I use AI tools in my music?
No. The AI Persona badge, which starts rolling out in mid-September 2026, marks artist identities that may be AI-generated and do not represent a real person. It is about identity, not process. Spotify handles disclosure of AI use in the creative process through separate systems called AI Credits and SongDNA.
Can Suno Studio run VST or AU plugins?
No. Suno's documentation states that Suno Studio is not compatible with VST or Audio Units plugins. Its built-in effects are a compressor, convolution, delay, distortion, EQ, gate and reverb, so anything you want to finish with your own plugin chain has to be exported and mixed in your DAW.